How to Make Crunchy Garlic Chili Oil

Shanthi Appelo, MS, RD
| 3 min read
Chili crunch has officially earned its place as a pantry staple. From eggs and noodles to roasted veggies and avocado toast, instantly upgrades just about anything it touches.
You don’t have to rely on expensive store-bought jars to get that crunch and heat. With just a handful of pantry ingredients and about 15 minutes, you can make your own chili garlic crunch oil at home — customized exactly to your heat preference.
This version uses all dried ingredients, which keeps things simple and safe.
Why use dried ingredients?
Many traditional chili crunch recipes use fresh garlic and onion, but if moisture isn’t fully removed during frying, it can increase the risk of botulism during storage. To avoid that risk and make this recipe more foolproof, we’re using dried garlic and onion.
Choosing the right oil
Start with a half cup of a neutral oil like:
• Vegetable oil
• Canola oil
These oils won’t overpower the flavor and won’t solidify as much in the fridge, keeping your chili crunch easy to scoop and drizzle.
Step 1: Heat the oil
Pour the oil into a small saucepan and heat over medium. It will take about 5-10 minutes to reach the right temperature — around 350°F. You’ll know it’s ready when the oil starts to shimmer and looks slightly wavy on the surface.
Avoid overheating, as this can scorch the spices later.
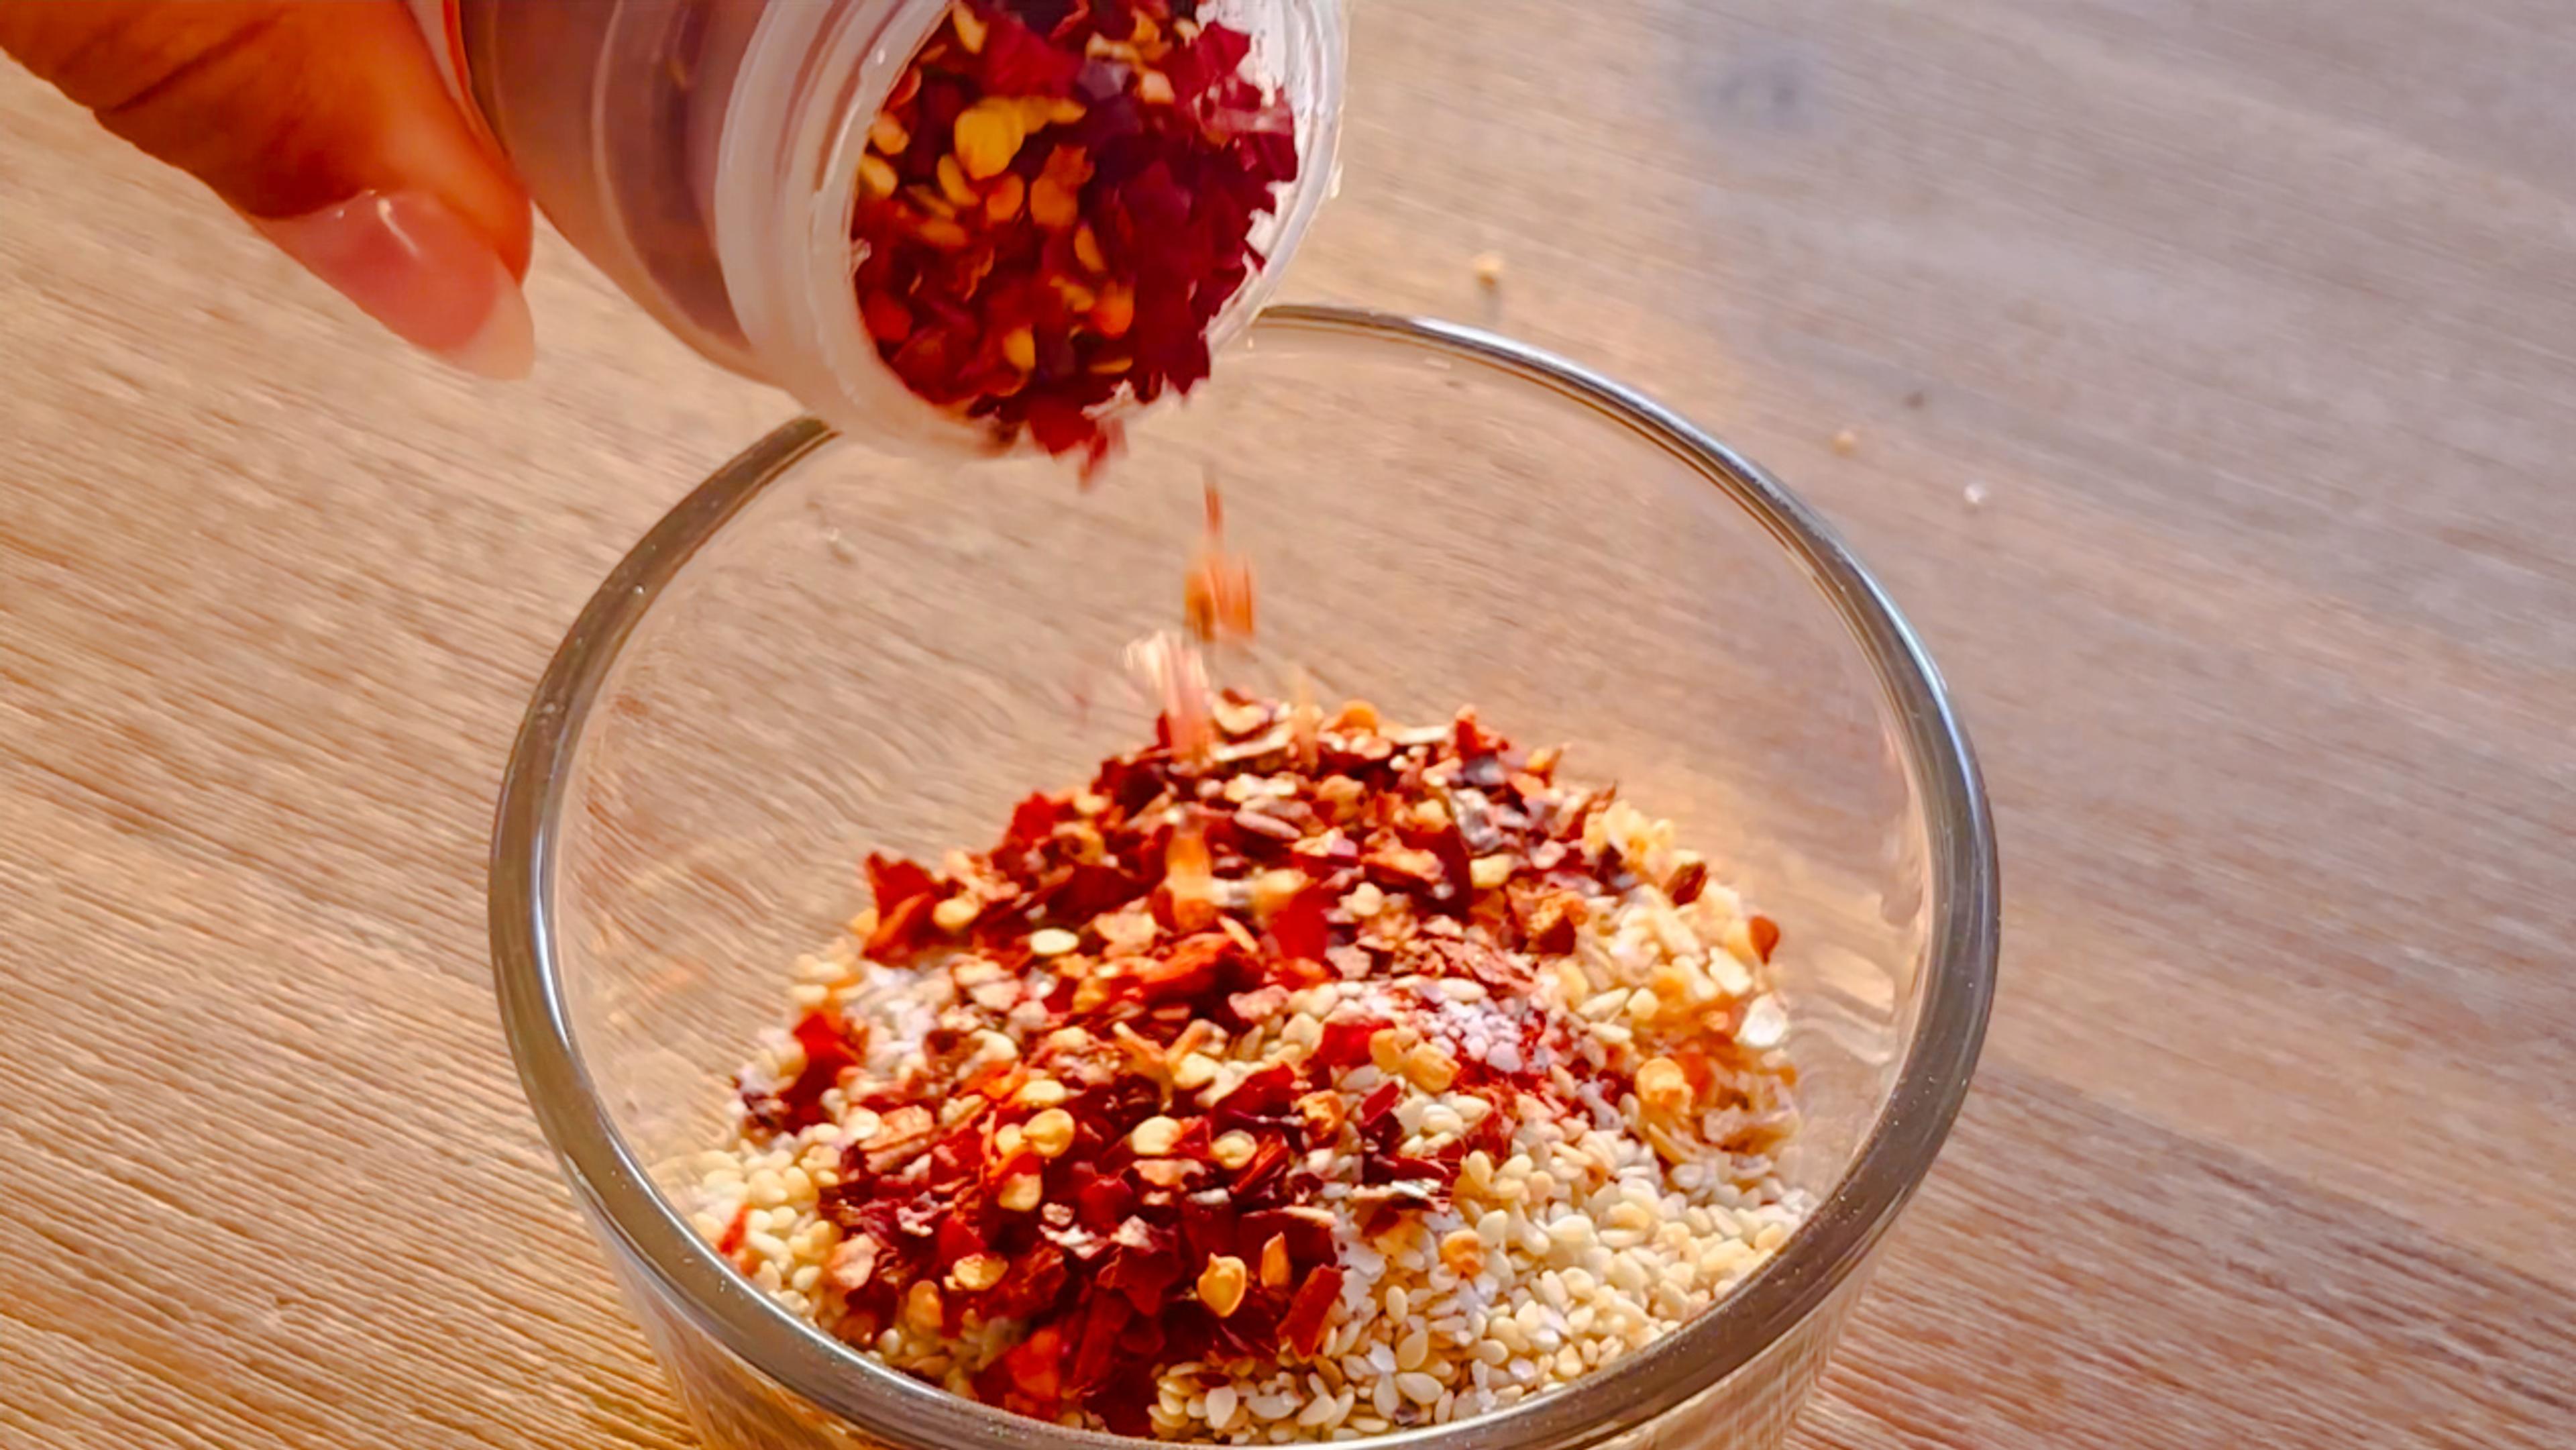
Step 2: Prep your dry ingredients
About 1 tablespoon of chili flakes will provide medium heat, so it’s easy to adjust to your heat preference. While the oil heats, add the following to a deep, heat-safe bowl:
• 1-2 Tbsp. chili flakes (to taste)
• 1 tsp. paprika
• 2 Tbsp. dried/minced onions
• 2 Tbsp. dried minced garlic
• 2 Tbsp. roasted sesame seeds
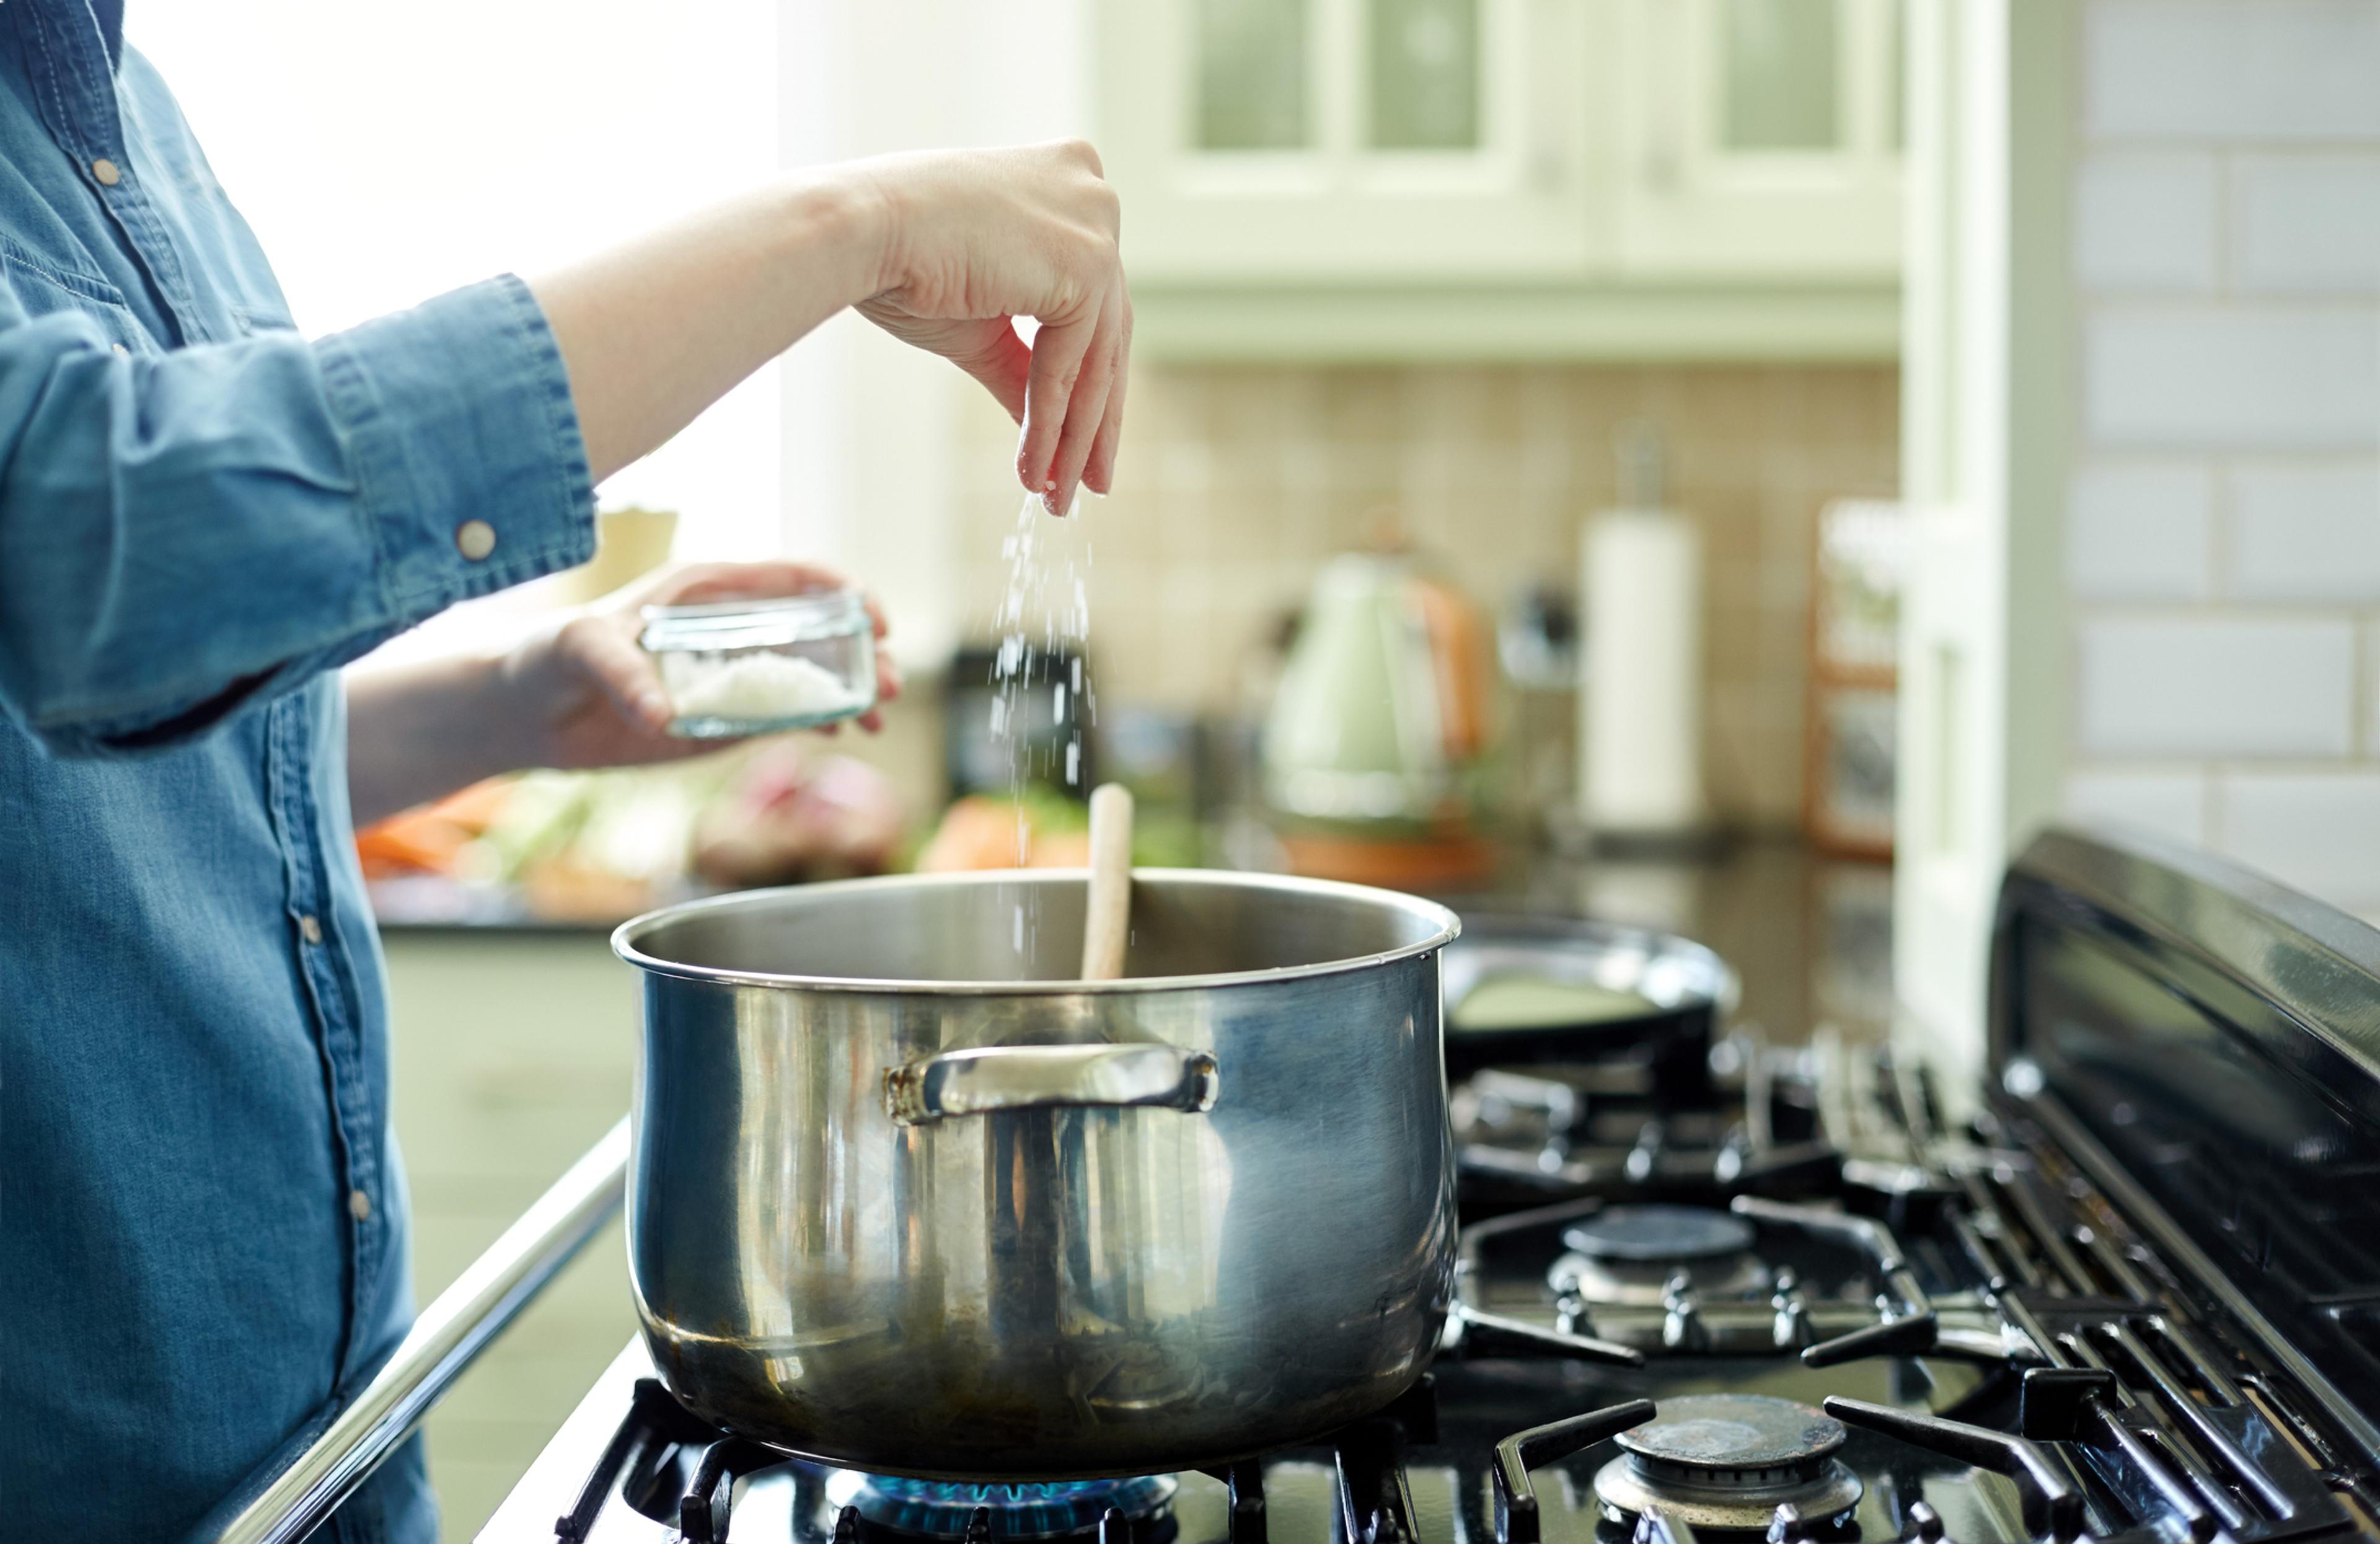
• 1 tsp. kosher salt
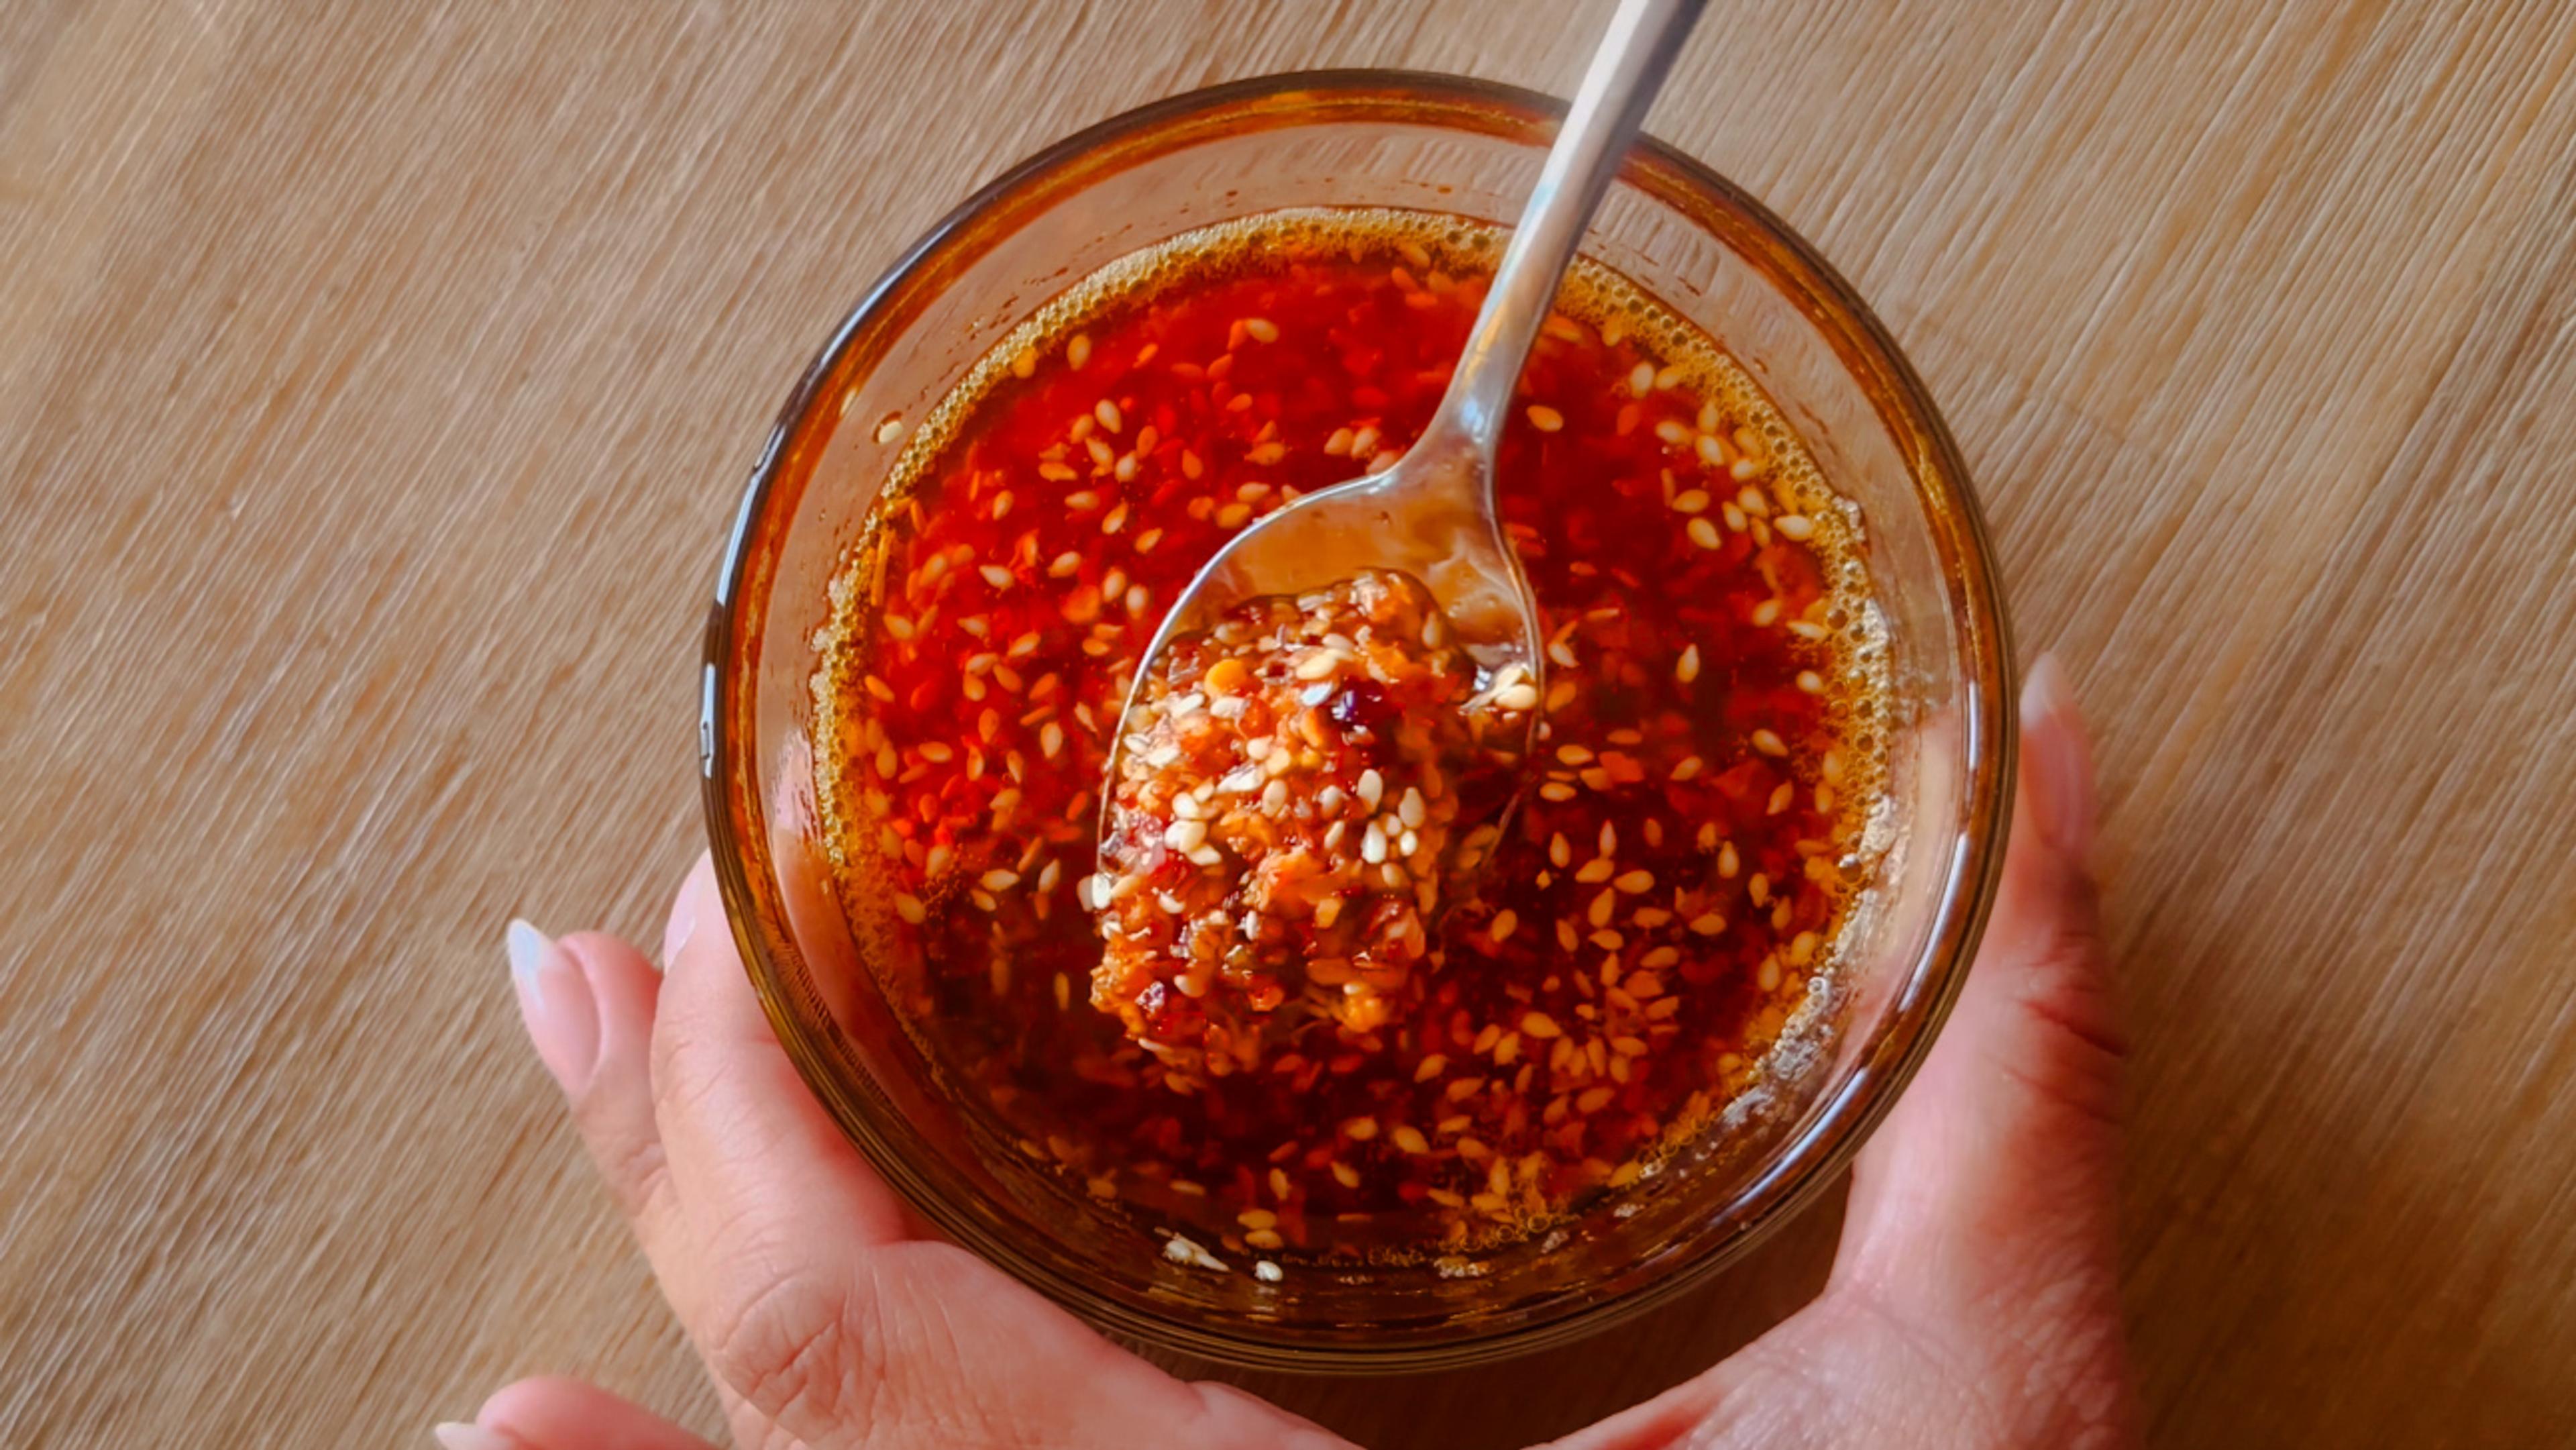
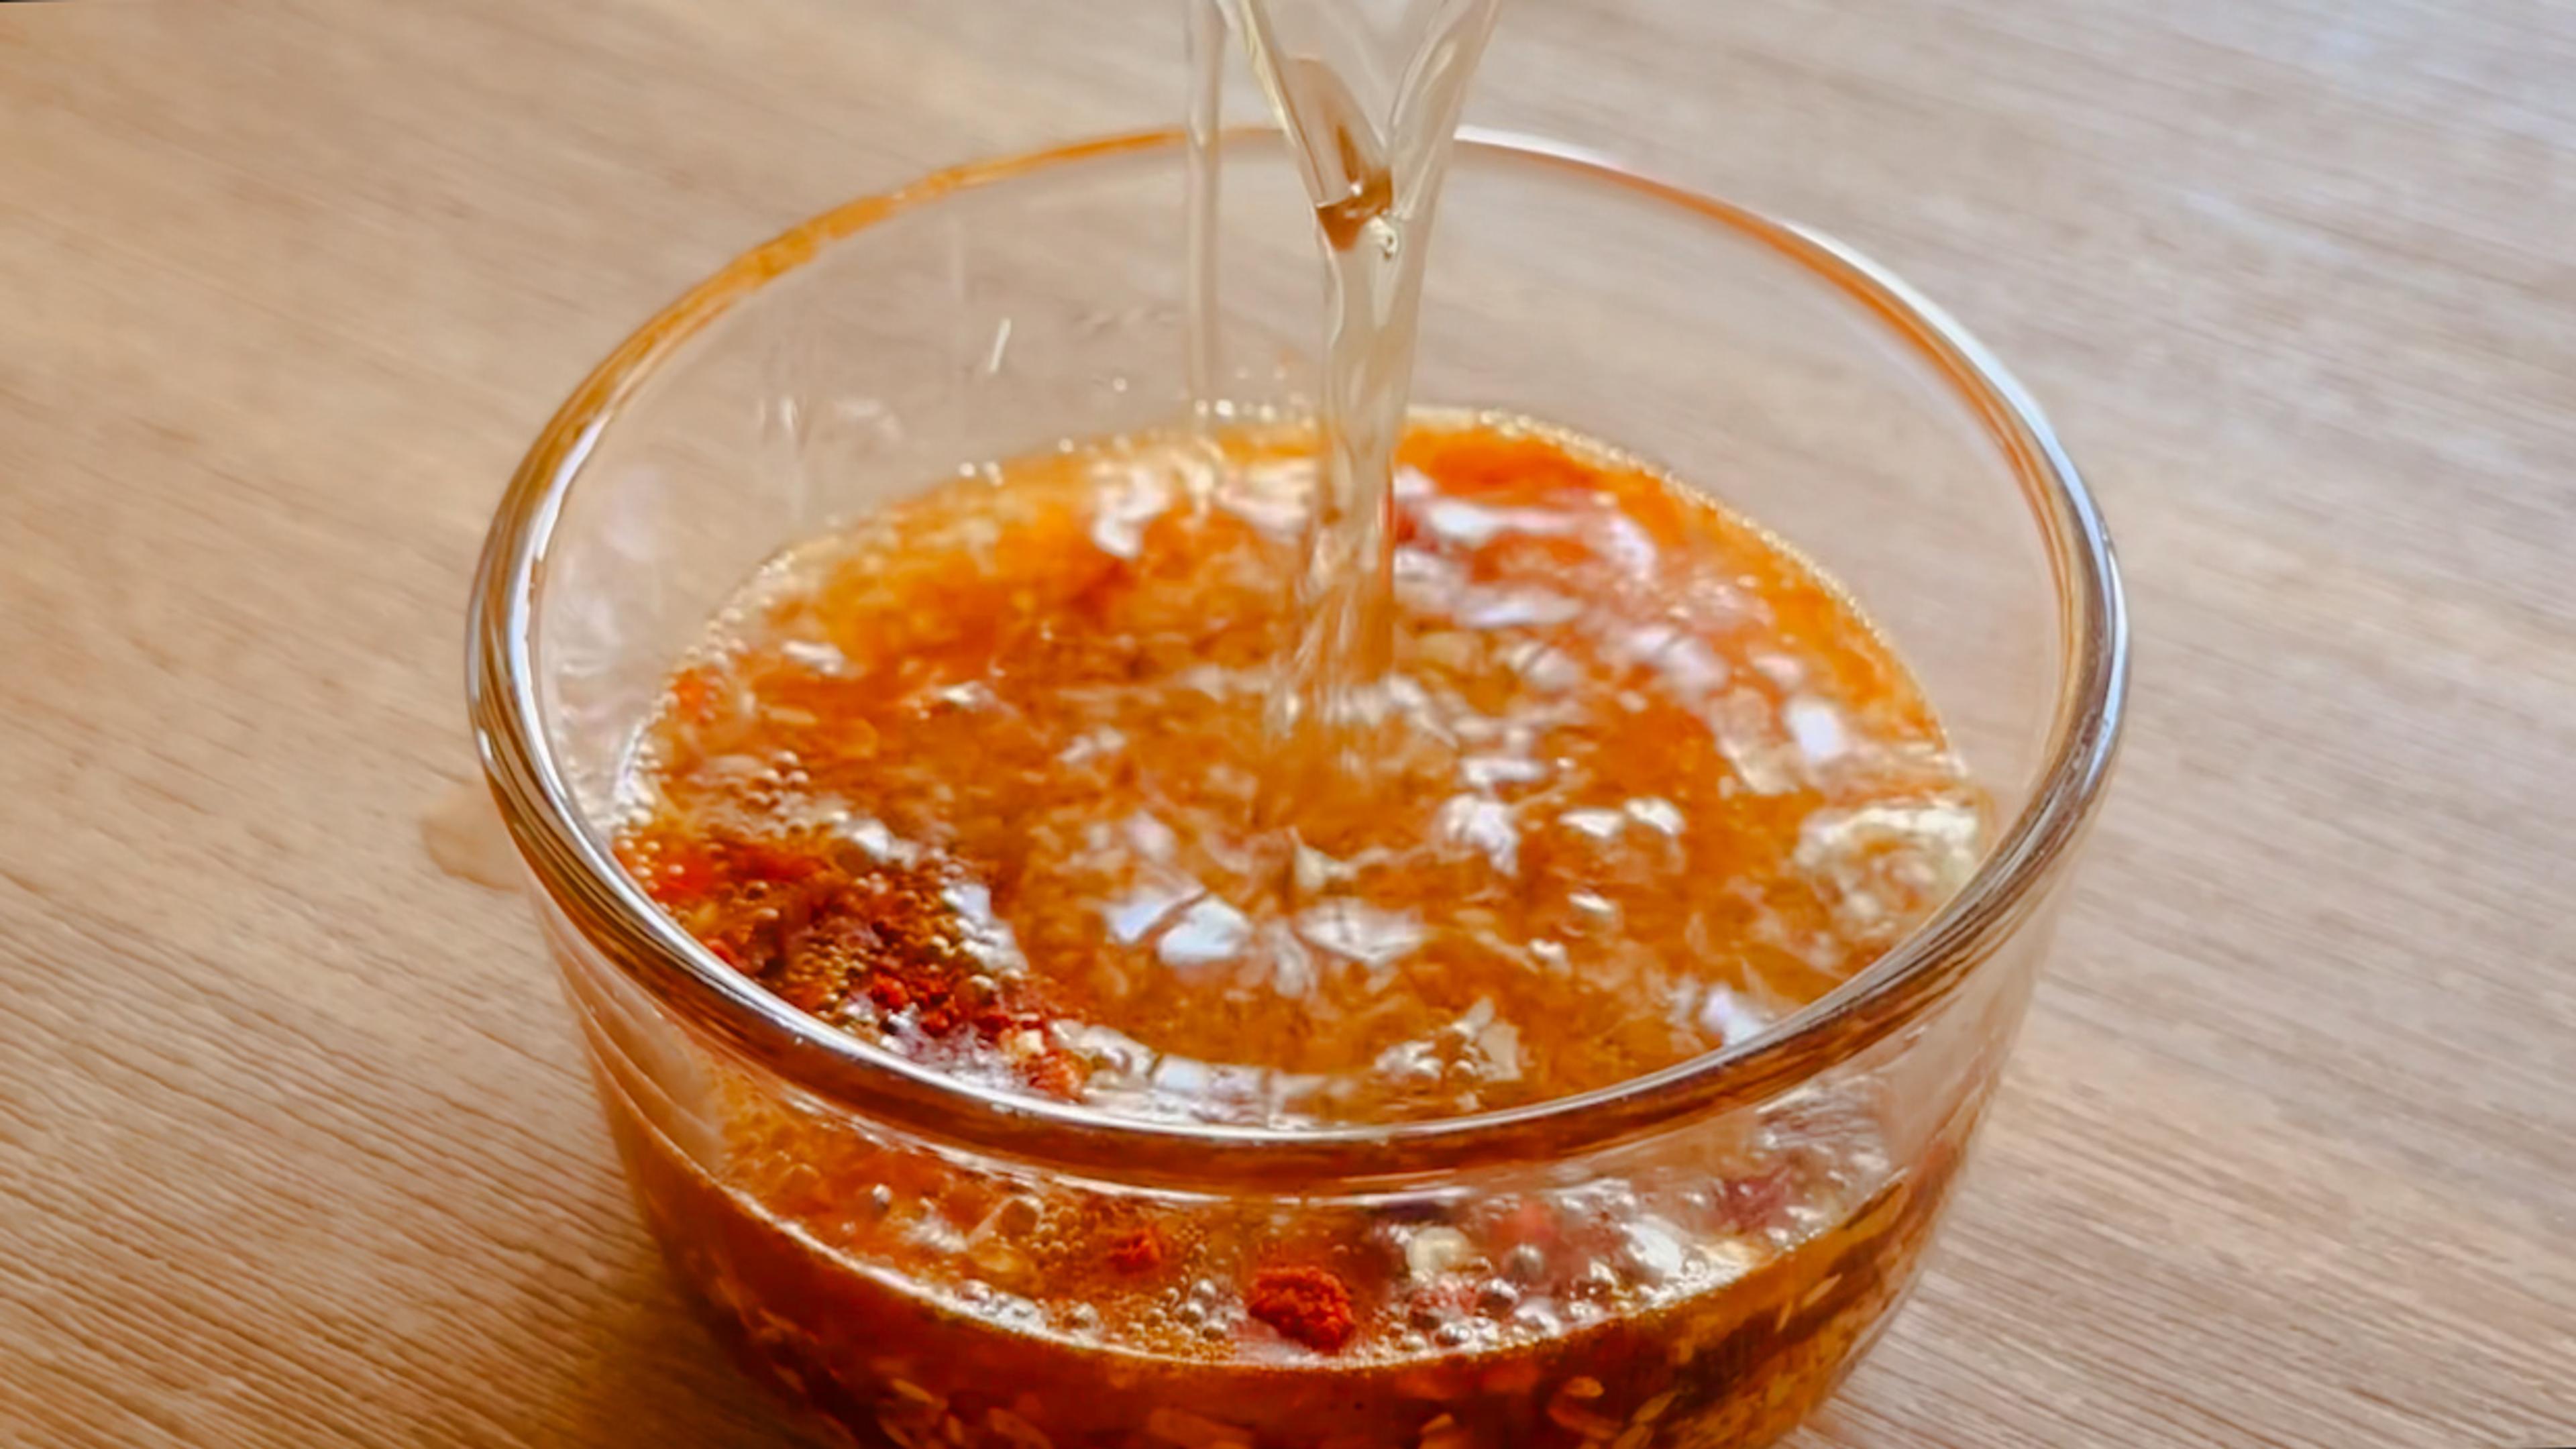
Step 3: Pour and sizzle
Once the oil is hot, carefully remove it from the heat.
Slowly pour it over the dry ingredients while stirring. It should immediately bubble and release an amazing aroma — this means the spices are blooming and developing flavor.
Stir well to evenly coat everything.
Step 4: Add umami
Stir in 1-2 tablespoons of soy sauce for a boost of savory depth. This small addition makes the finished chili crunch taste richer and more complex. Adding a teaspoon of sugar can help add balance to the mix.
Step 5: Cool and store
Let the mixture cool completely to room temperature. Then transfer it to an airtight jar and store it in the refrigerator. It will keep well for 8-10 weeks when properly stored.
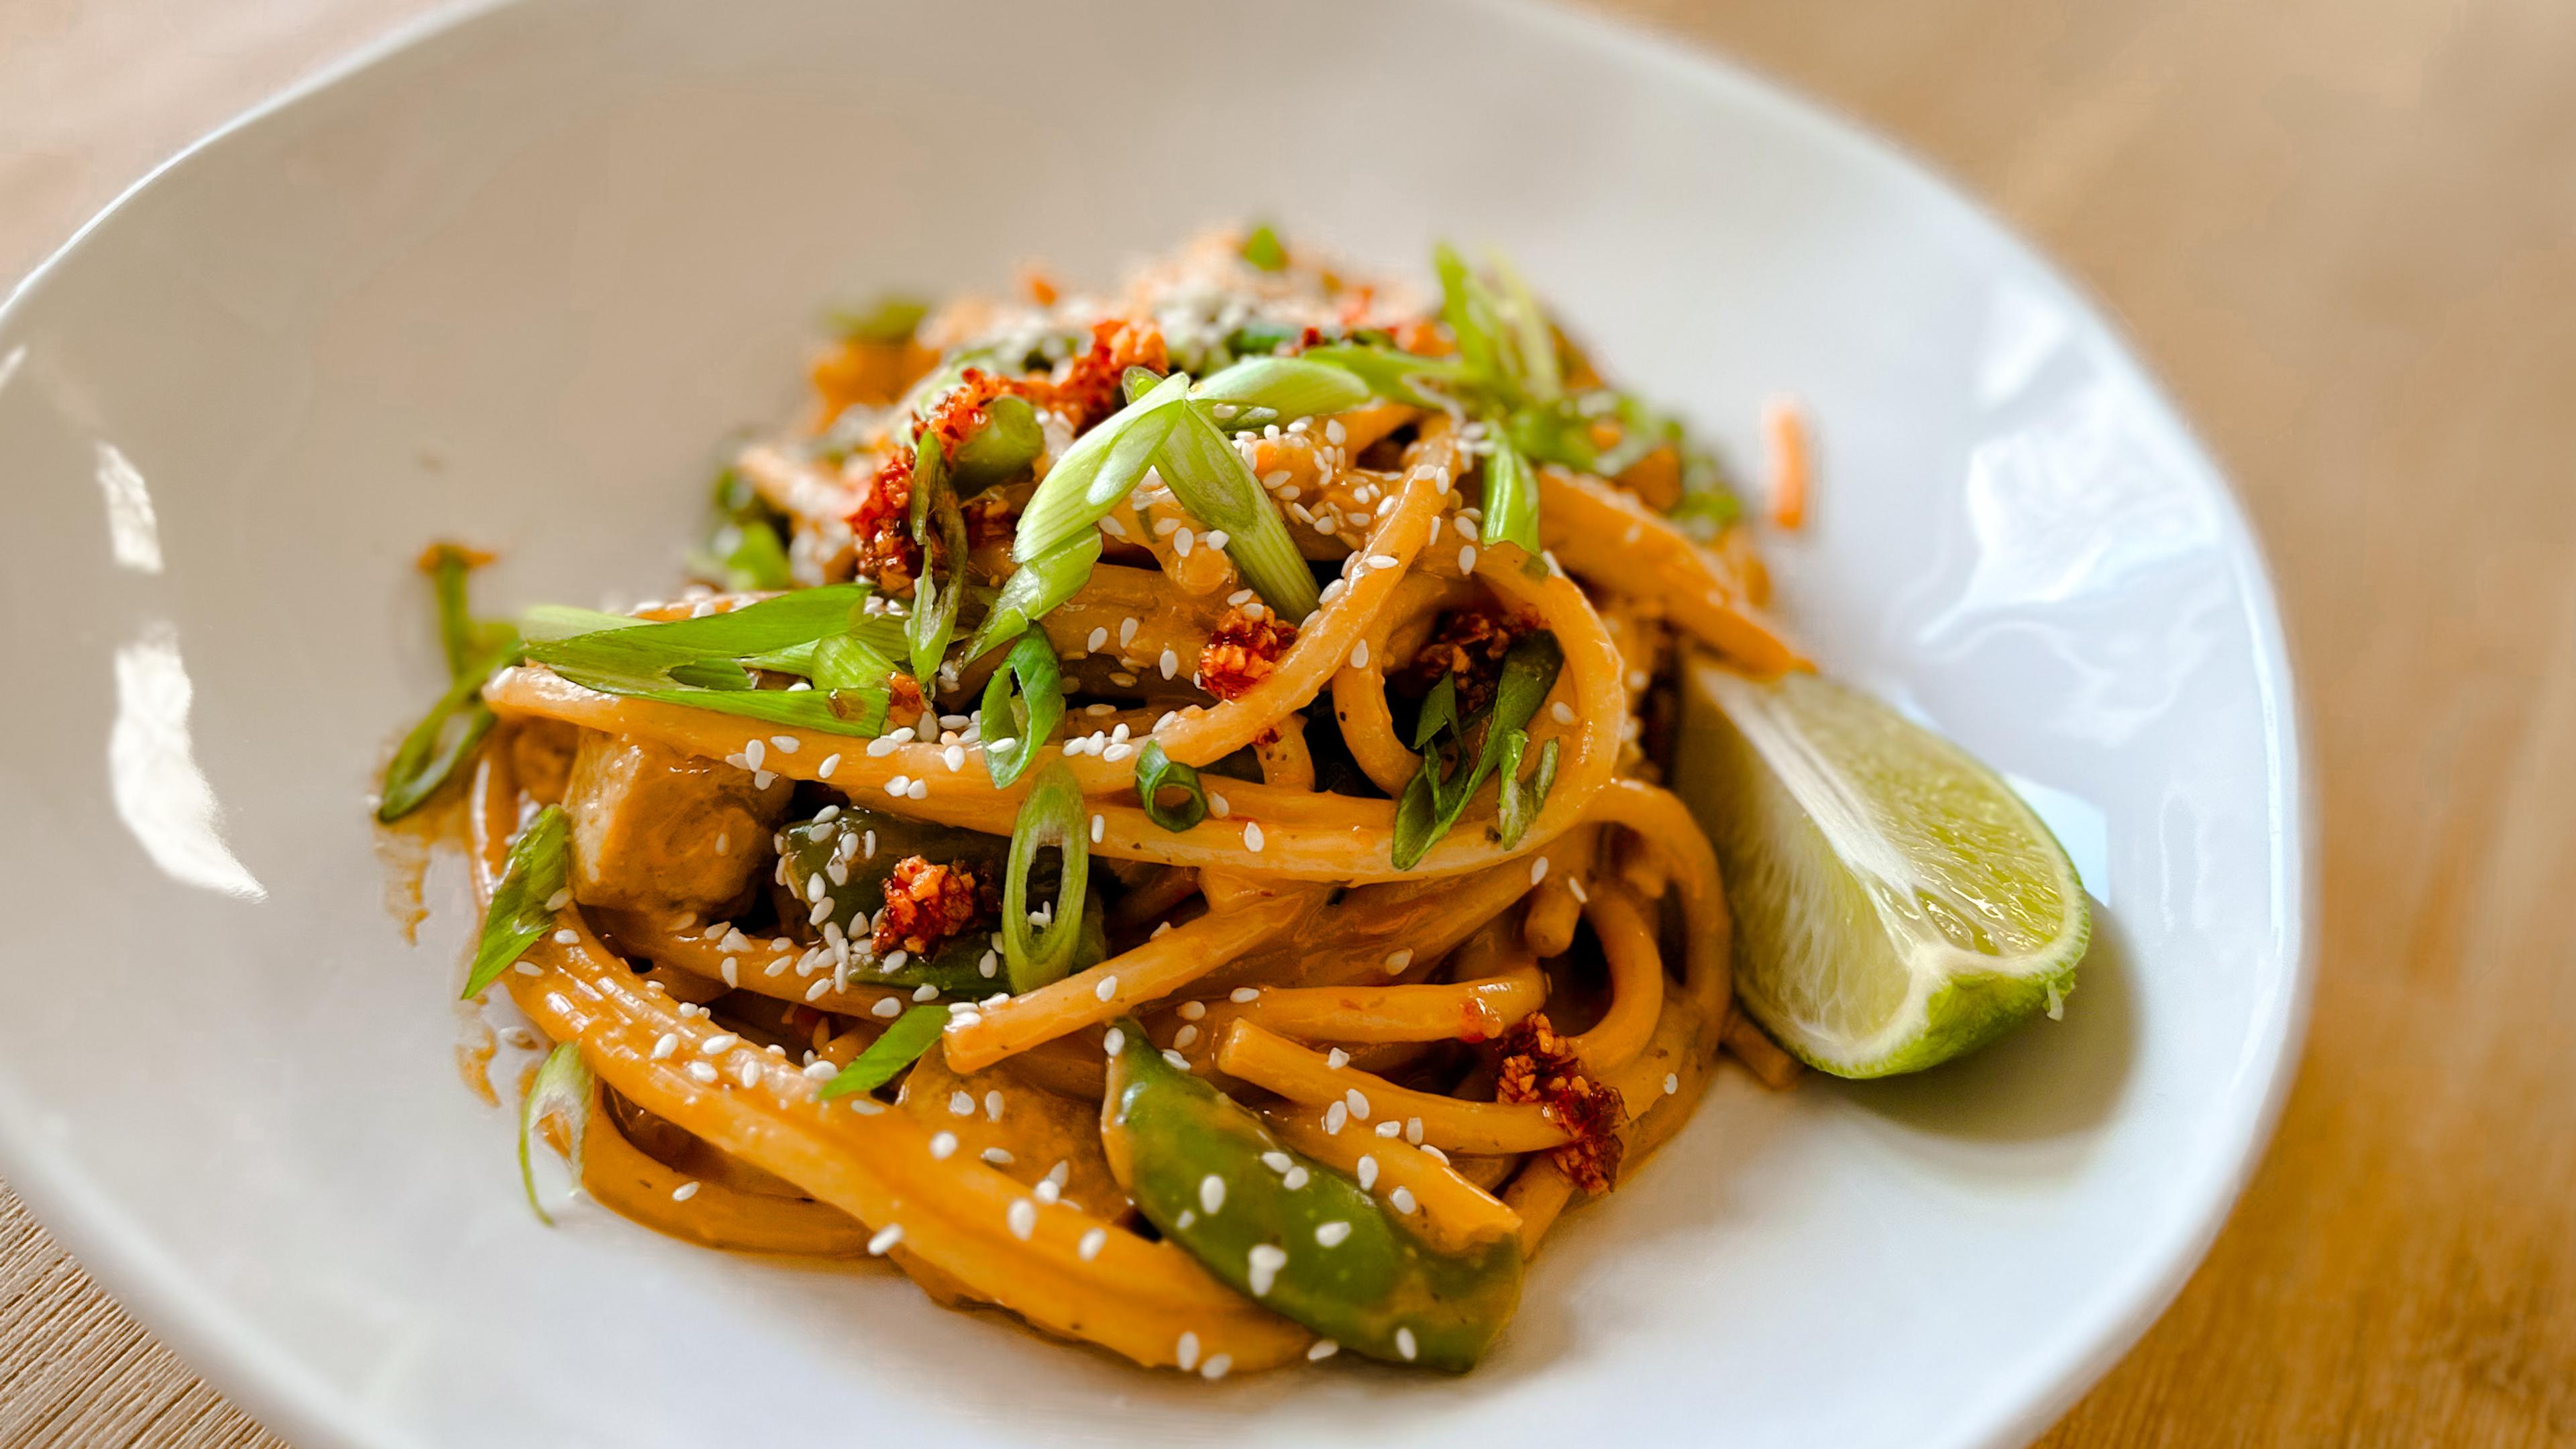
How to use chili garlic crunch
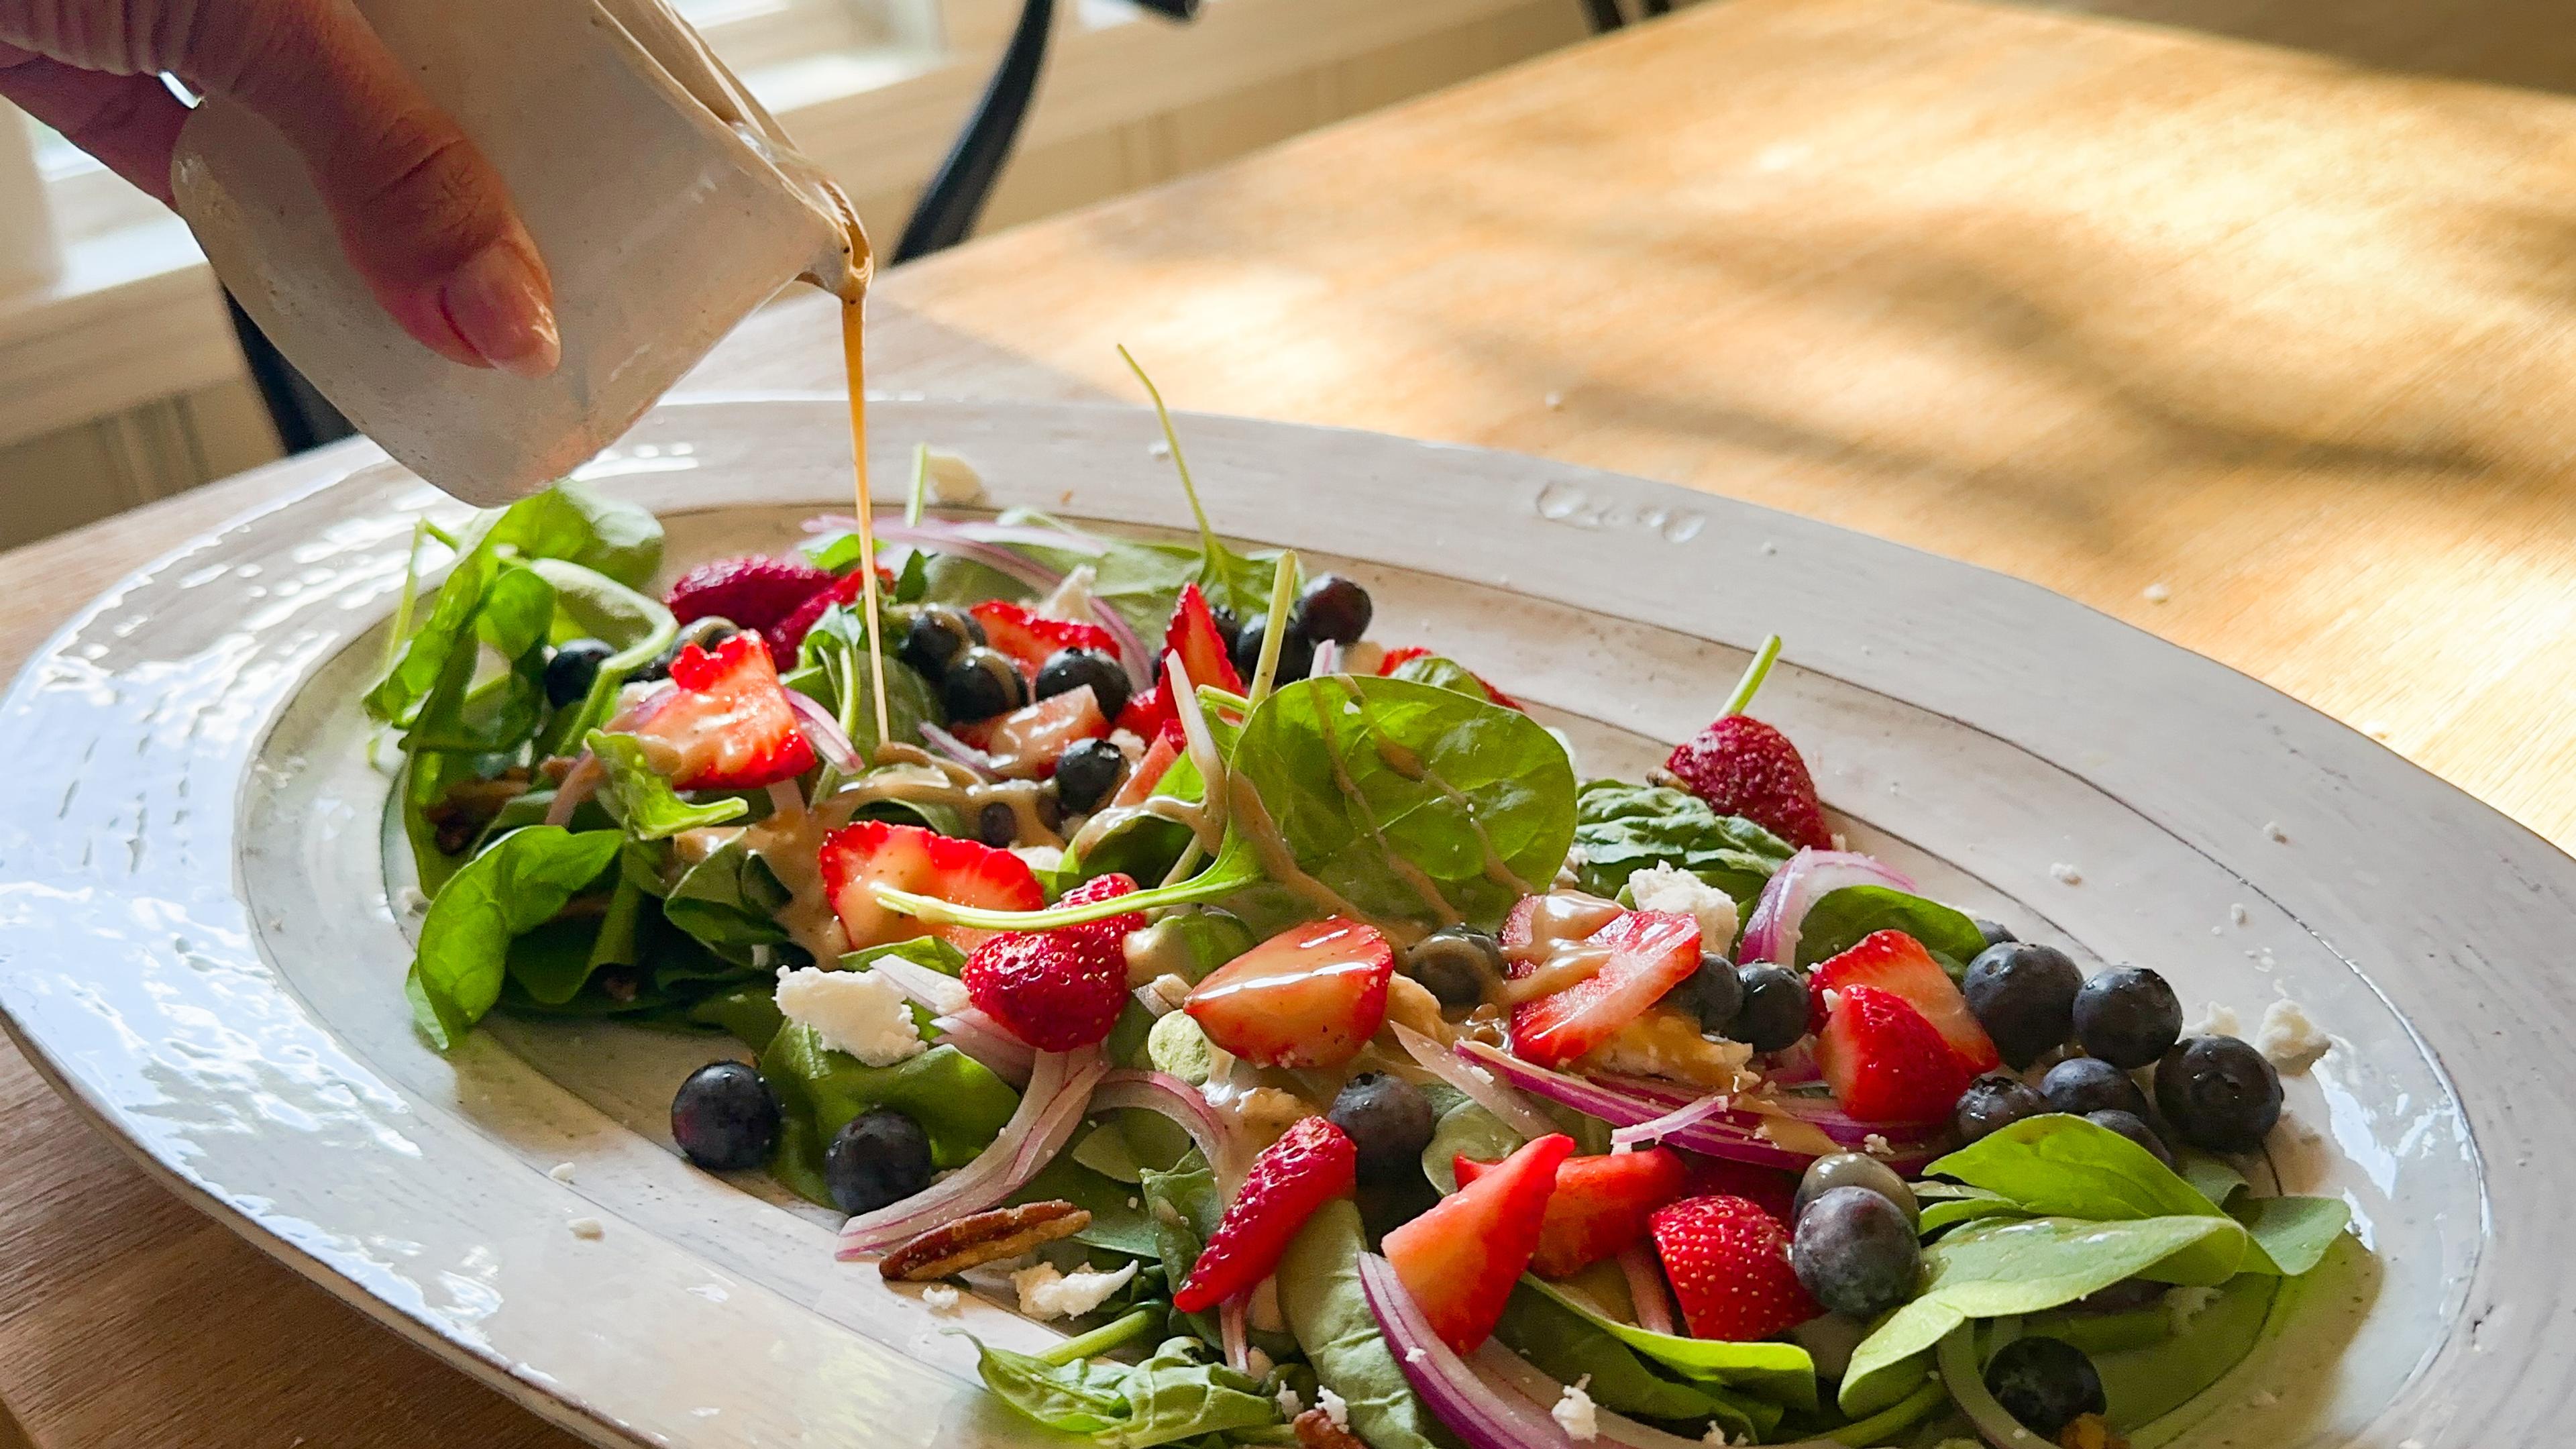
Anything that could use a little crunch and heat can benefit from this chili garlic crunch. Try it on:
• Eggs or omelets
• Noodles and rice bowls
• Stir-fries
• Roasted vegetables
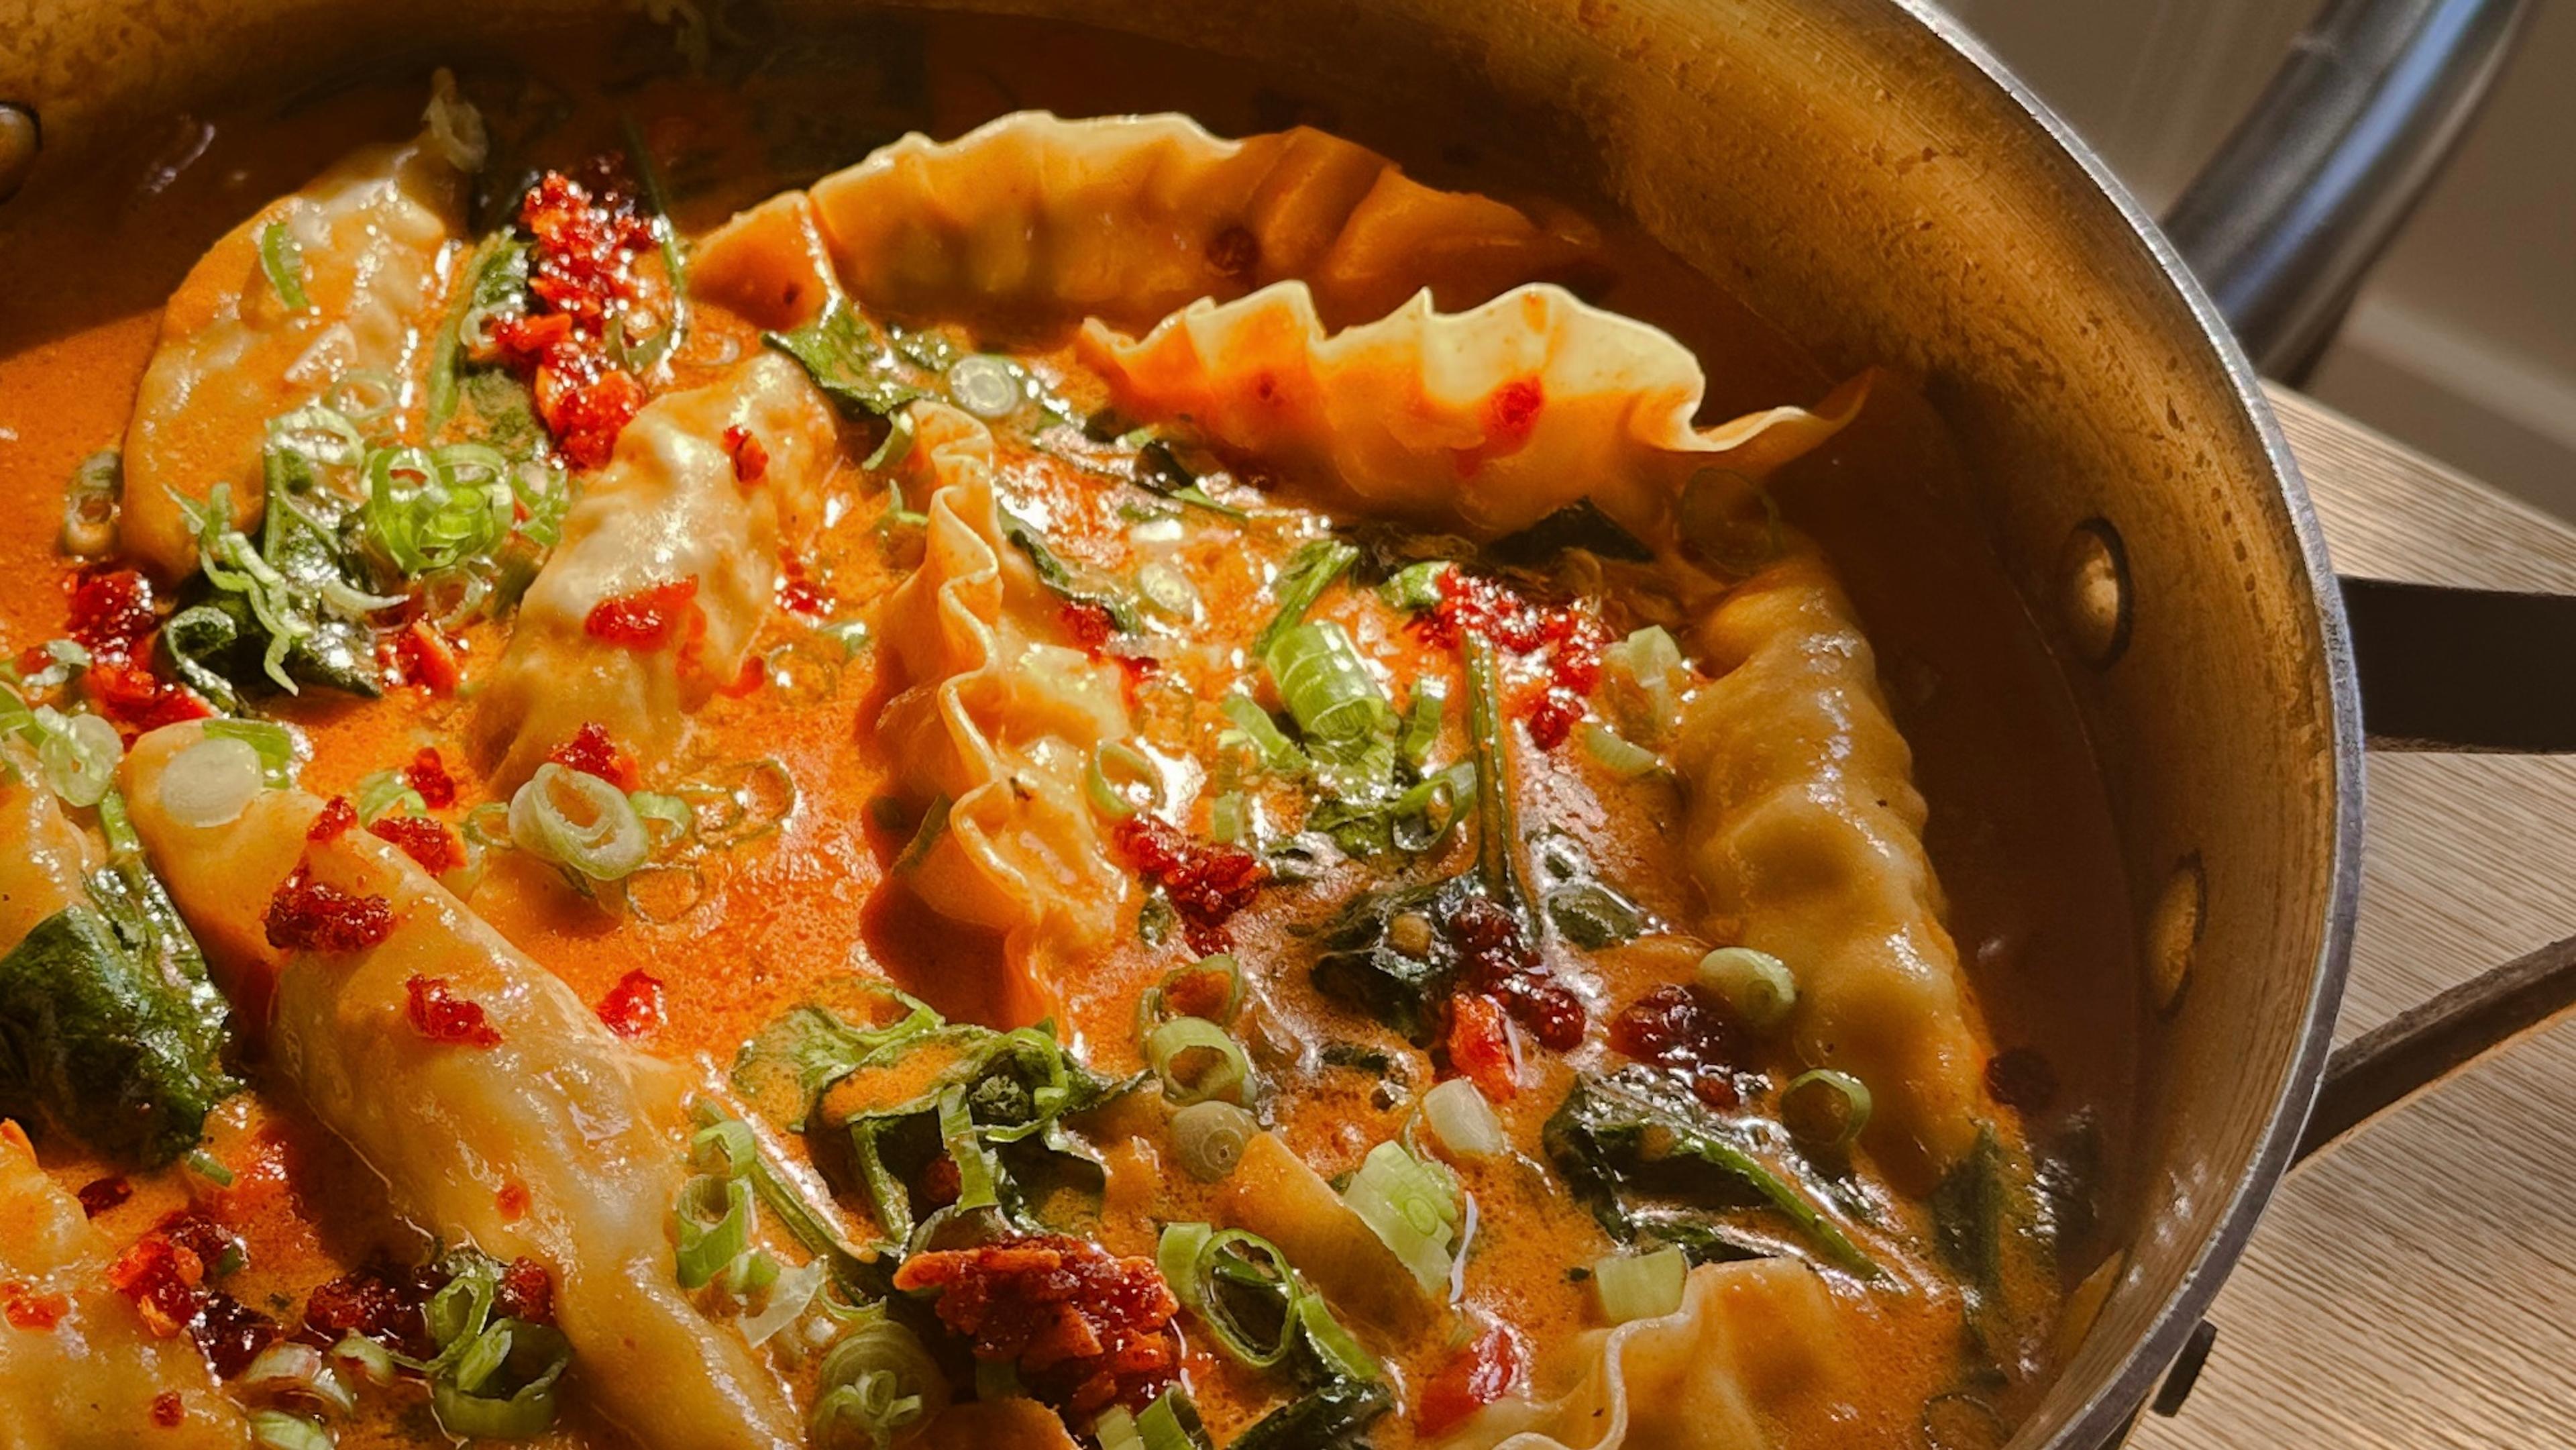
• Dumplings
• Avocado toast
• Soups and ramen
• Grilled meats or tofu