Does your chicken always turn out tough and dry?
You might want to give a cooking technique called sous vide a try. With more people exploring home cooking, adding sous vide to your repertoire has many benefits. This type of cooking retains more vitamins and minerals, locks in flavors and cooks food to the exact right temperature. Like the trusty slow cooker, you can also set it and forget it for convenient meal preparation.
The basics
Sous vide means “under vacuum” in French. This is because this cooking technique utilizes food in a vacuum-sealed bag with herbs, spices or marinade, then dropped in a water bath to cook. The actual sous vide machine circulates the water while warming it, keeping it at the ideal temperature without fluctuation. And, at a price tag of about $100, this cooking technique doesn’t have to be limited to fancy restaurants.
This is gradual and controlled cooking at its finest, making the end-product perfect in texture. Some proteins such as chicken and steaks take a couple of hours to cook, but it’s an excellent opportunity to get things done around the house or prepare side dishes as the sous vide takes care of itself. But don’t worry about all foods having a lengthy cooking time, some foods such as shrimp take just 15 minutes.
When is it useful?
A great way to use the sous vide is for meal prep. Make a few perfectly cooked chicken breasts for salads for the week or a batch of veggies. It’s also beneficial for dinner parties. Several steaks can be prepped ahead of time by sealing with herbs, garlic, salt and pepper and a little oil in a bag. Some steaks cook for two hours in the sous vide and can then be seared on a cast iron or stainless-steel skillet to get a crisp edge when they’re ready to serve.
Anything else?
A vacuum sealer is another useful tool for sous vide cooking. Not only does it come in handy in getting all air out of the bag, but it helps store food for longer in the fridge and freezer, without the unwanted freezer damage. In fact, you can prepare plenty of bags of sous vide contents to store in the freezer and take them out for a no-effort weeknight meal. If you don’t want to invest in a vacuum sealer to use the sous vide technique, you can simply use the water displacement method with a gallon-size plastic bag.
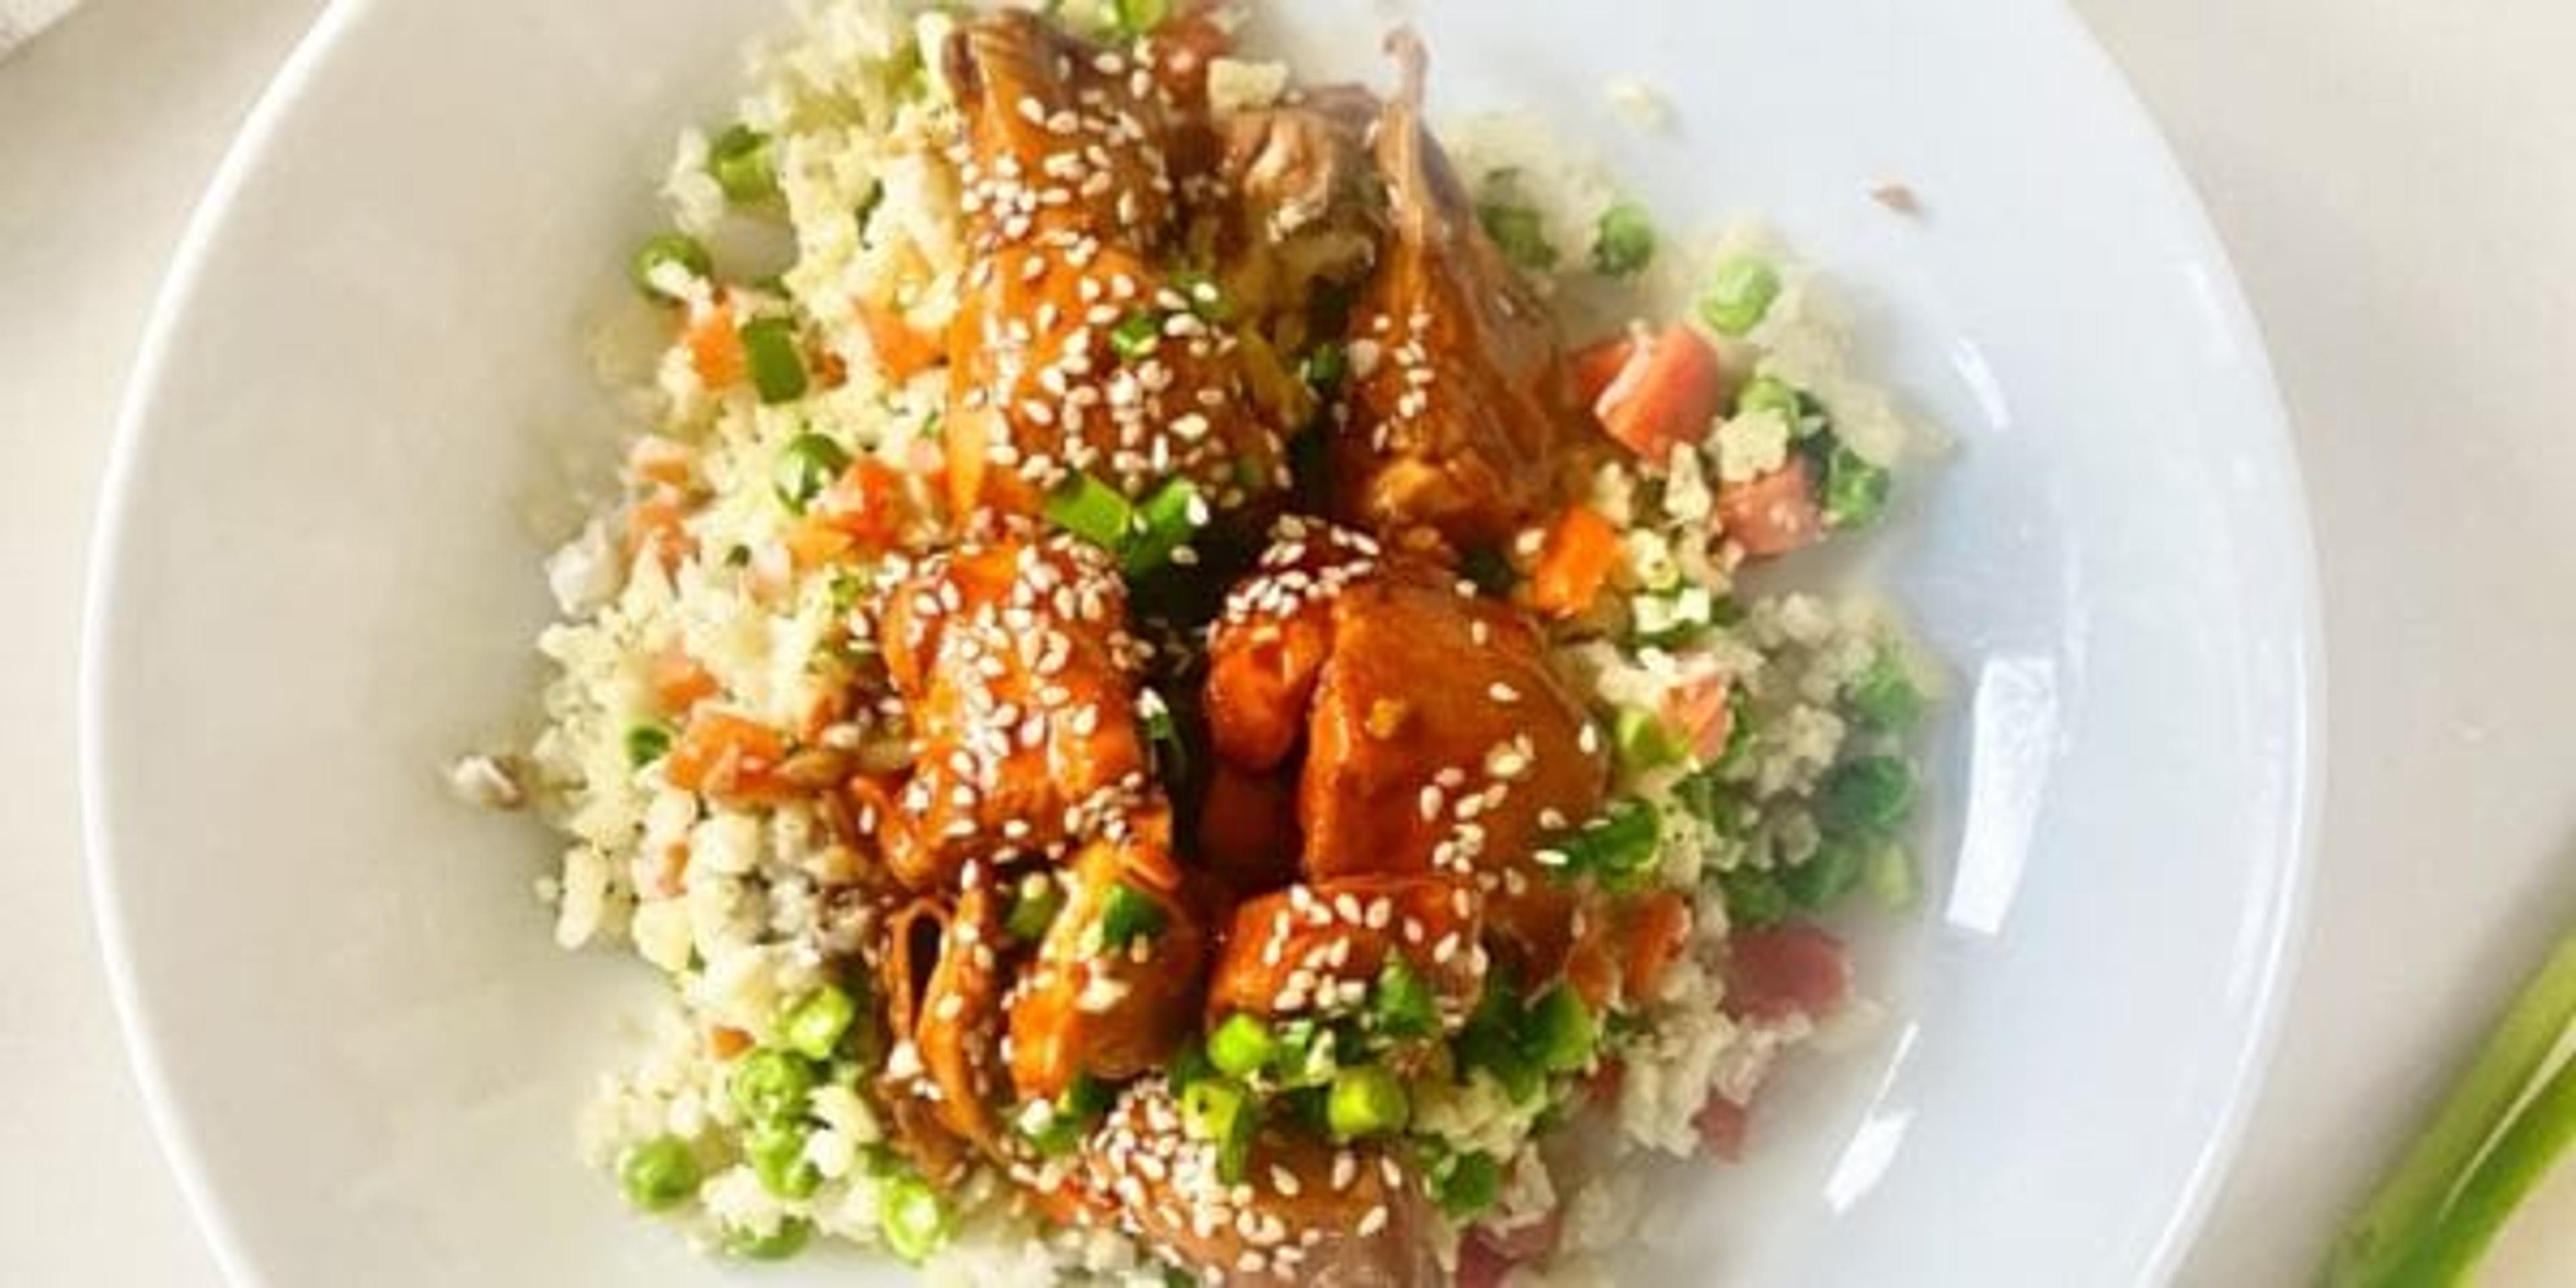
Scroll down for a yummy sesame chicken and cauliflower rice recipe using the sous vide technique!
Ingredients
1 lb. chicken breast (2-3 breasts), cubed into ~1-inch pieces
1 tbsp grated ginger
2 cloves garlic, minced
2 tsp soy sauce
2 tsp rice vinegar
1 tbsp sesame oil
2 tbsp light soy sauce
2 tbsp rice wine vinegar
2 tbsp honey
1⁄4 cup chicken stock
1 tsp sesame oil
1 tsp cornstarch
Optional: add heat with a dash of red pepper flakes
Garnish – white sesame seeds
Garnish – Green onion
Frozen riced cauliflower, 20 oz (2 bags)
1 tbsp olive oil
1 glove garlic, minced
1 carrots, finely diced
1⁄2 cup green peas
Instructions
Step 1
Set sous vide to 165 degrees F in a water bath.
Step 2
Add sous vide bag contents except for the chicken in a small bowl, whisking to combine.
Step 3
Prepare a vacuum sealed bag by double sealing one end and leaving the other end open. Place all sous vide contents in the bag and vacuum/double seal the other end. If you do not have a vacuum sealer or bags, you can use a gallon-sized zip lock bag and remove the air using the water displacement method.
Step 4
Place sous vide bag in water bath and let cook for 1.5 hours.
Step 5
Combine all ingredients in a bowl and whisk.
Step 6
Add sauce to a non-stick skillet and bring to a simmer over medium-high heat. Allow to thicken up. If it does not thicken up sufficiently, add another tsp of corn starch mixed with 2 tsp cold water and stir in.
Step 7
Add chicken to sauce and place over cauliflower rice.
Step 8
Garnish with scallions and sesame seeds.
Step 9
Heat a large non-greased pan on high heat. Add frozen riced cauliflower, constantly stirring for 3-5 minutes. This will allow excess moisture to escape and avoid a soggy product.
Step 10
Turn down to low-medium heat, push cauliflower to the side with a spatula and add olive oil to heat.
Step 11
Add minced garlic and allow to cook until fragrant and golden, about 1-2 minutes.
Step 12
Add carrots and green peas and stir. Allow to cook for 3-5 minutes.
Step 13
Combine cauliflower rice with carrots, green peas and garlic.
Step 14
Serve with sesame chicken. Enjoy!
Related:
Photo credit: Shanthi Appelö