Can Yoga Help Achy Joints? Yes, If You Do the Right Moves
| 4 min read
You never realize how often you move your knees, hips, wrists and elbows until they start to hurt. Just ask the many older Americans who suffer from joint pain–everything from minor stiffness to the more extreme pain of severe arthritis (the nation’s most common cause of disability). When it’s bad enough, chronic joint pain can really impact your well-being and cause you to stop doing your favorite activities. That’s why, if you’re one of those individuals or care for someone who suffers from chronic aches, finding ways to ease that pain as much as possible is a huge priority.
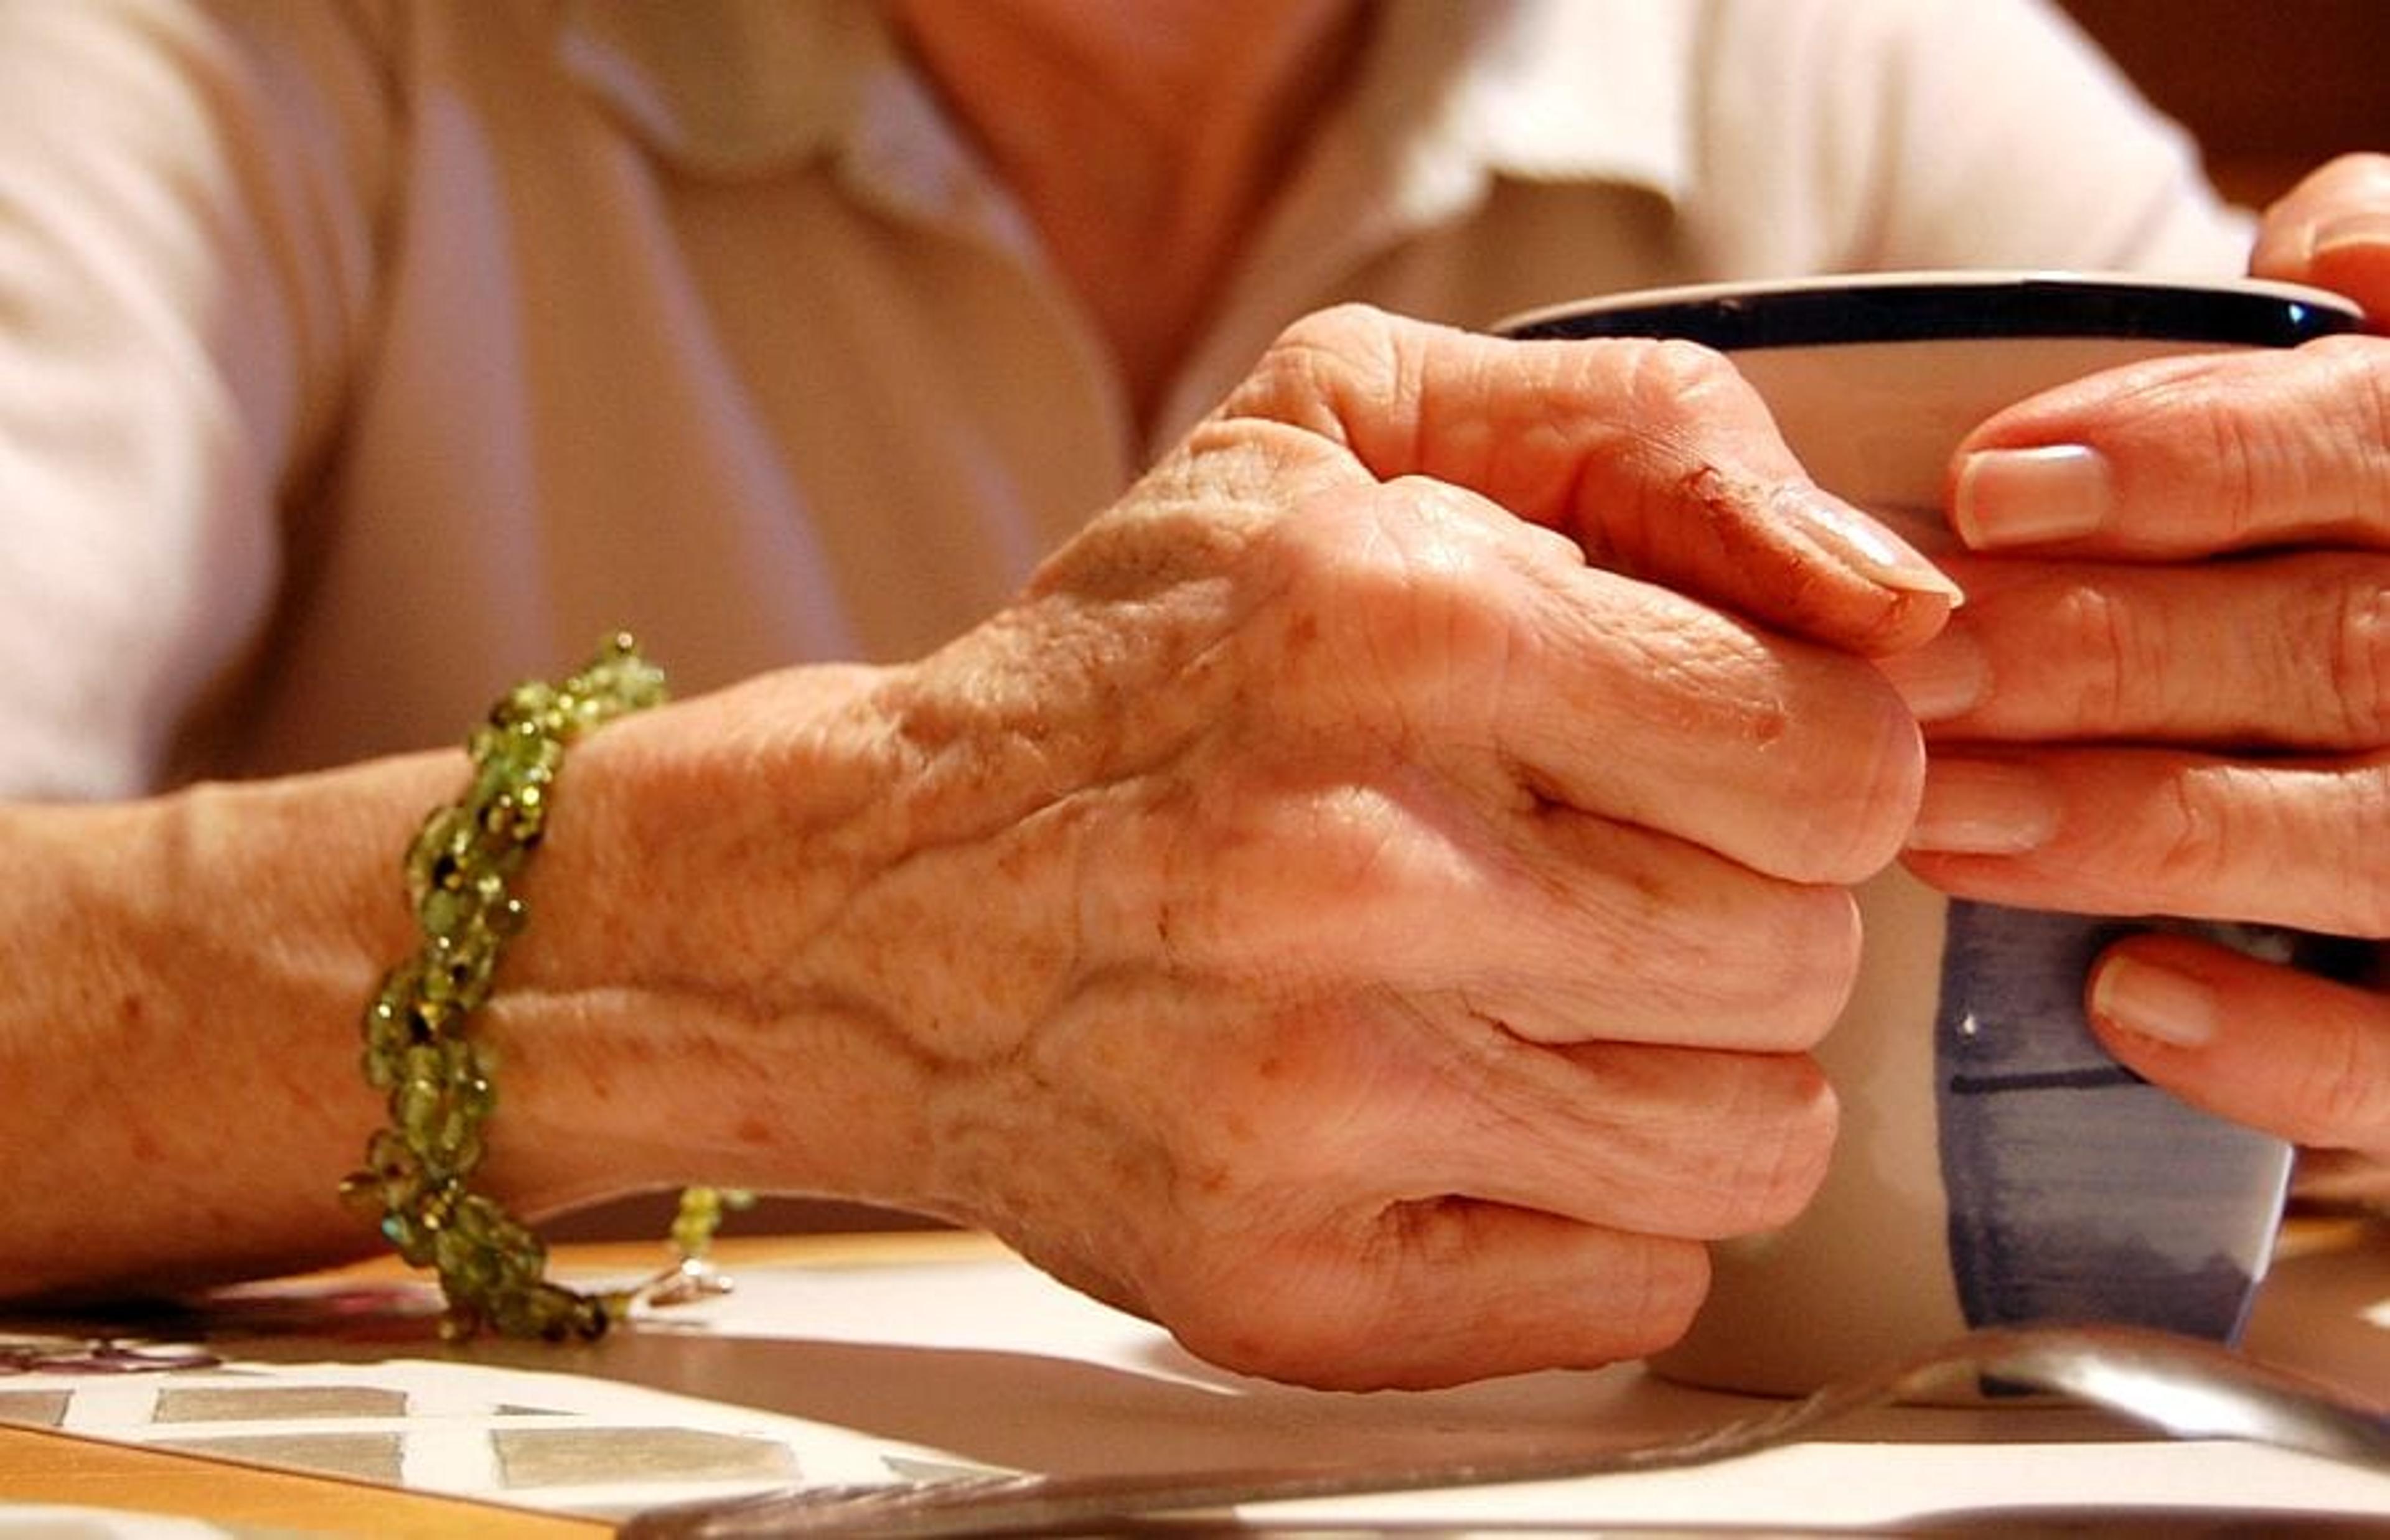
First, a look at what’s causing this pain: Joints are the movable connections between your bones and are covered in a layer of cartilage that allows you to move without your bones rubbing against one another. As we age, the cartilage can break down, leading to inflammation, pain and stiffness.
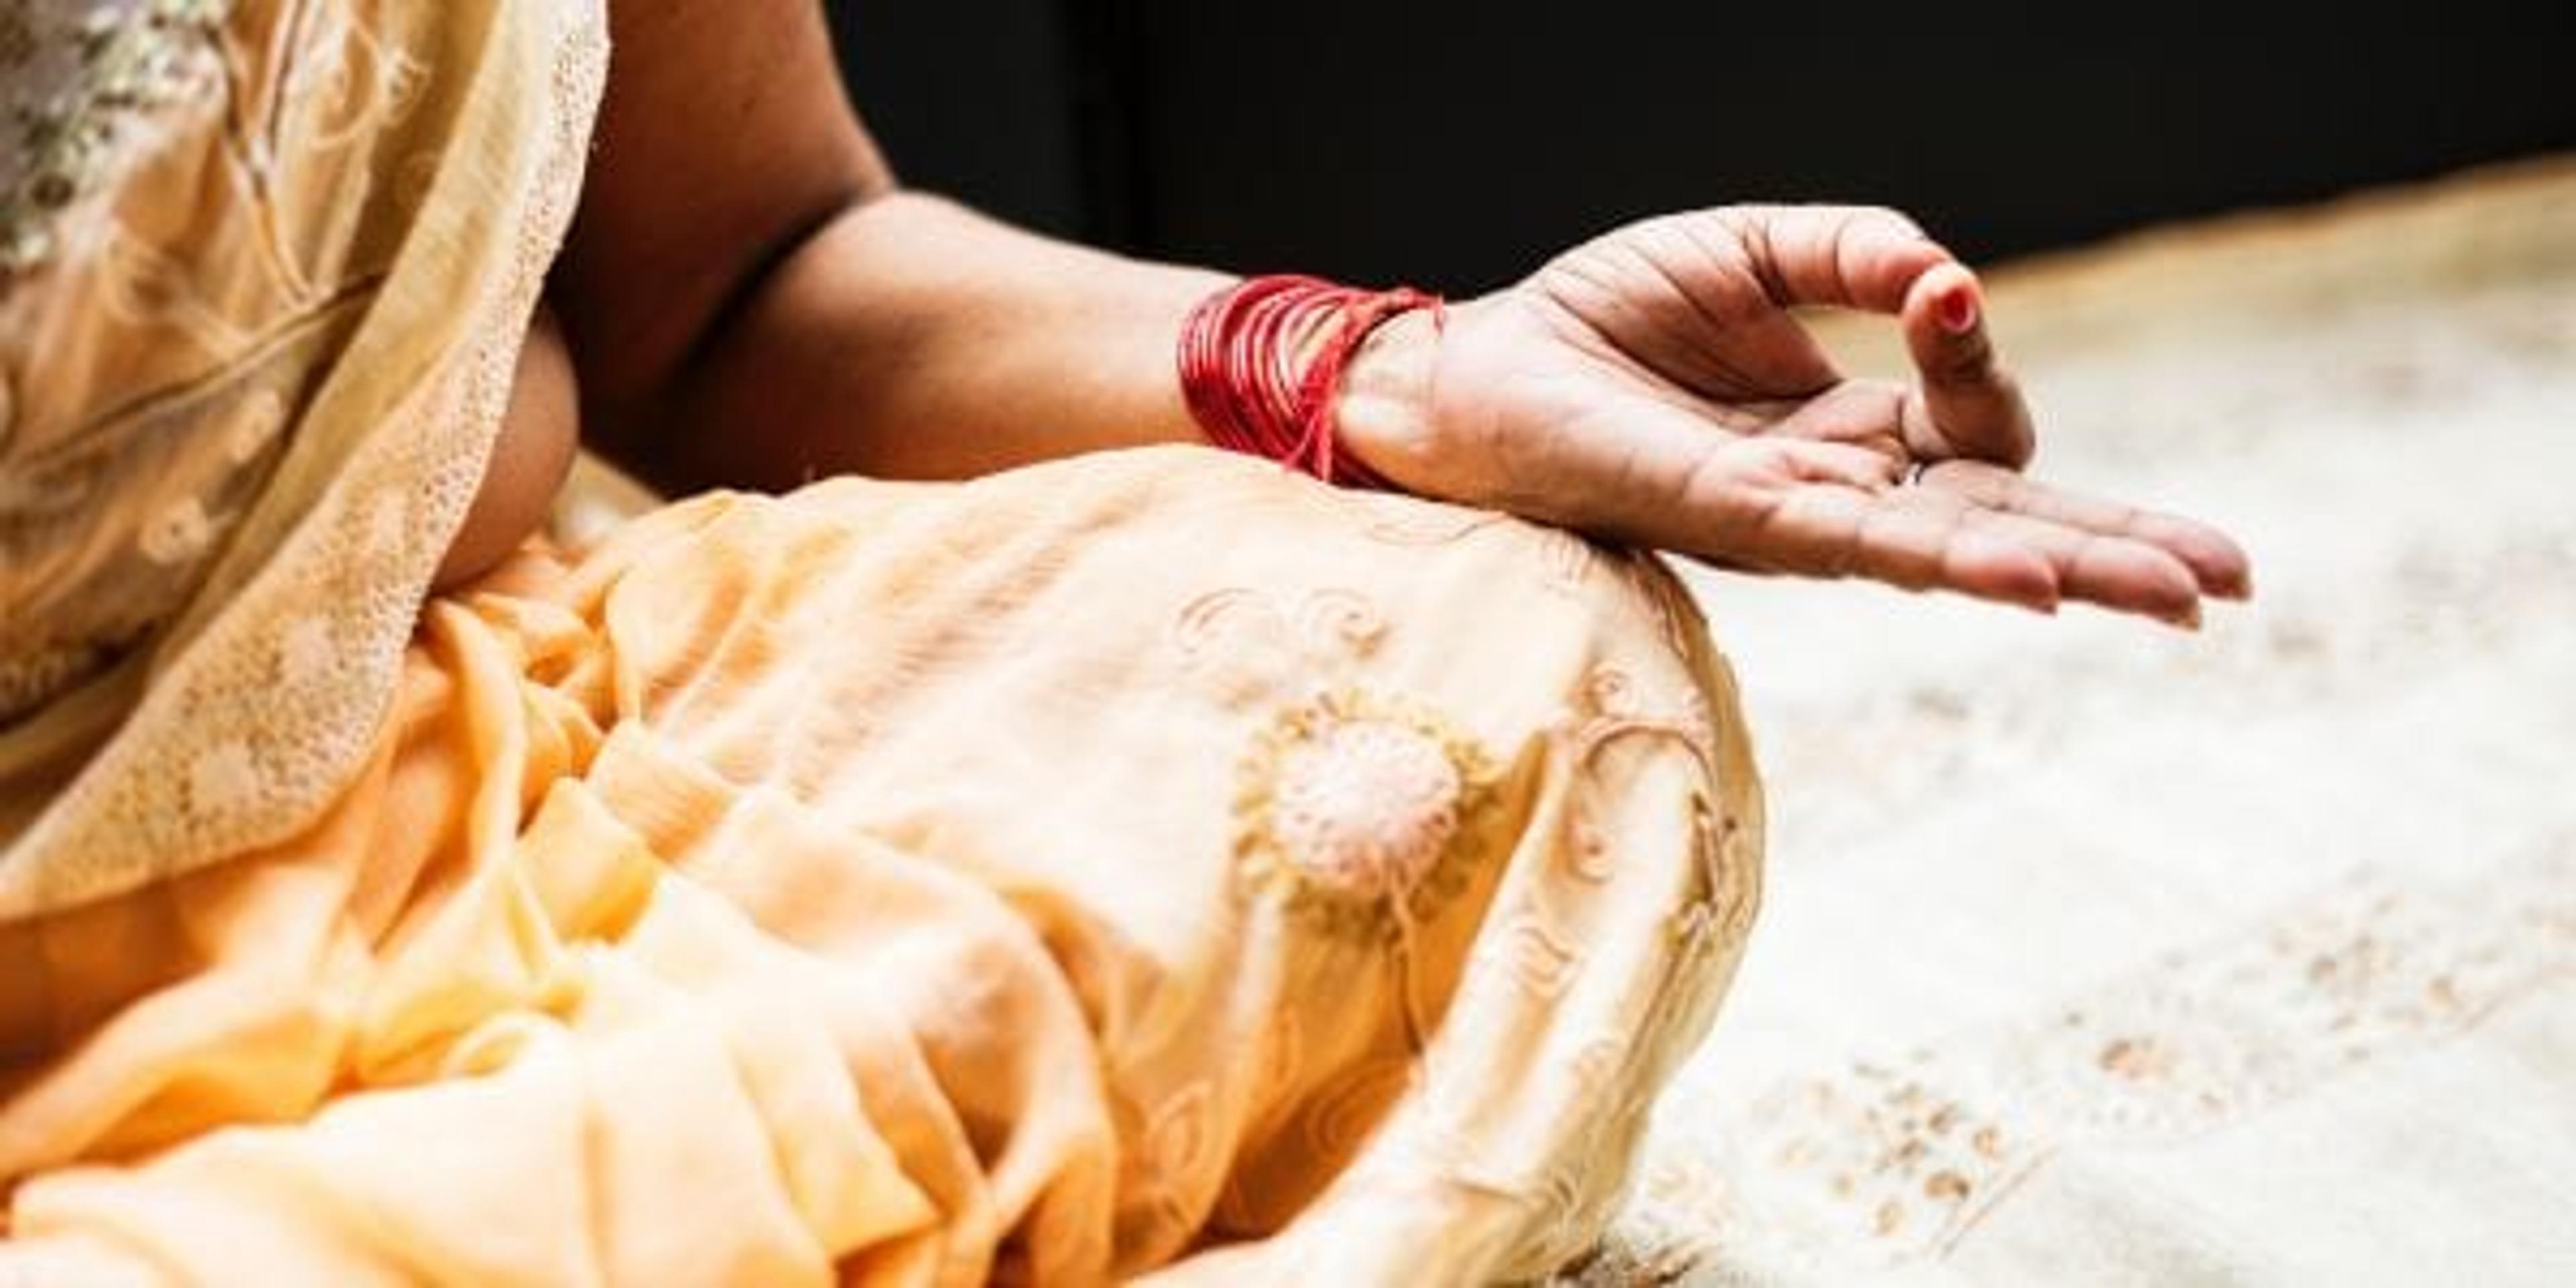
While you should consult your primary care physician for any new pain, it’s also important to know that you can get some relief on your own through low-impact exercises like yoga. Yoga’s slow, fluid movements can help inflamed and painful joints become more fluid and increase your muscle strength without straining yourself.
A yoga-for-beginners class is a good idea to make sure your form is correct, but here are a few poses you can perform anywhere to aid those achy joints.
- Sit tall in a chair, keeping your knees together and your feet flat on the floor. (The chair reduces your risk of over-exerting your back muscles. As you strengthen your muscles, you can do this from a standing position.)
- Inhale deeply.
- As you exhale, bend forward, rounding your shoulders and bending your back forward one vertebra at a time.
- Let your arms hang by your sides.
- Hold this pose for three breaths, then slowly return to start position.
- Standing upright, step your left foot back three to four feet. Make sure your heels are aligned, then turn your left foot 90 degrees. Your hips should be turned to the left as well, but continue looking forward.
- Inhale and raise your arms so they are parallel to the floor over your thighs, palms facing downward.
- As you exhale, bend the right knee forward over your right heel. The right shin should be perpendicular to the floor and you should be able to see your right big toe and inner edge of your right foot.
- Apply slightly more pressure in your right heel rather than the toes to keep your right knee stable.
- You gaze should move forward over your right arm down the middle finger. Breathe slowly and stay here for 30 seconds to one minute before repeating with the opposite side.
- Start on your hands and knees in a “tabletop” position. Make sure your knees are directly below your hips and that your wrists, elbows and shoulders are in line and perpendicular to the floor. Center your head in a neutral position, eyes looking at the floor.
- As you inhale, lift your sitting bones and chest toward the ceiling, allowing your belly to sink toward the floor (think of arching your back). Lift your head to look straight forward.
- Exhale, coming back to neutral “tabletop” position. Repeat 10 to 20 times.
- Sit cross-legged on the ground. (A block can be positioned under each knee for extra support.) Bring the soles of your feet together, letting the knees fall out to either side.
- Draw your feet in as close to your body as is comfortable. Back off if you feel any pain in your knees. Press the outer edges of the feet together strongly and hold for 30 seconds.
- Sit on the floor with your legs stretched out in front of you. It may help to sit with your shoulder blades against a wall and with a small rolled-up towel between the wall and your lower back.
- Pull in your belly and sit up tall.
- Place your hands on the floor next to your hips, fingers pointing toward your toes.
- Without hardening your abdomen, flex your thigh muscles while pressing them down toward the floor, rotating them inward and drawing your groin muscles toward your tailbone.
- Flex your ankles, pointing your toes toward your body.
- Imagine your spine is a staff pressing into the floor, and try to hold this position for two to 10 deep breaths.
Check out these blog posts if you enjoyed this one:
Photo credit: MTSOfan